Monday, October 14, 2013

Laser Hair Removal, Let's Talk Results

 photo ElaseMedicalSpaLaserHairRemovalElaseMedicalSpaLaserHairRemovalLaserHairRemovalatElaseElaseElaseMedicalSpa009_zps665f9219.jpg
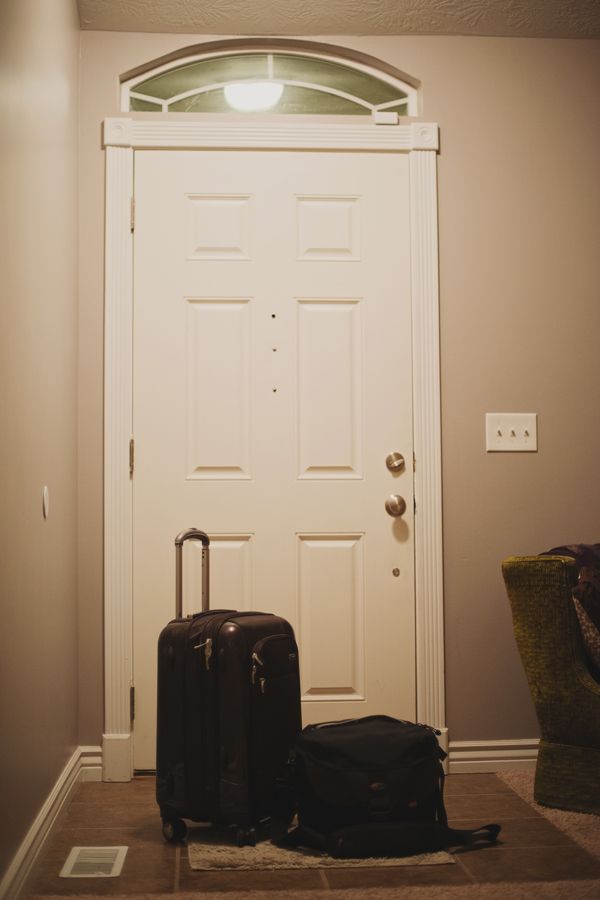
I just had my fourth laser hair treatment at Elase Medical Spa. I am happy to report that I remembered my Dr. Numb. Holy cow it was so NOT painful this time. This post, I want to talk a little about results.

I get asked wherever I go, "How is the laser hair treatments going?!" People really want to know and I am happy to tell them, "AMAZING!" I wish so much I would have done this YEARS ago. I love it, my husband loves it, it is just...wow.

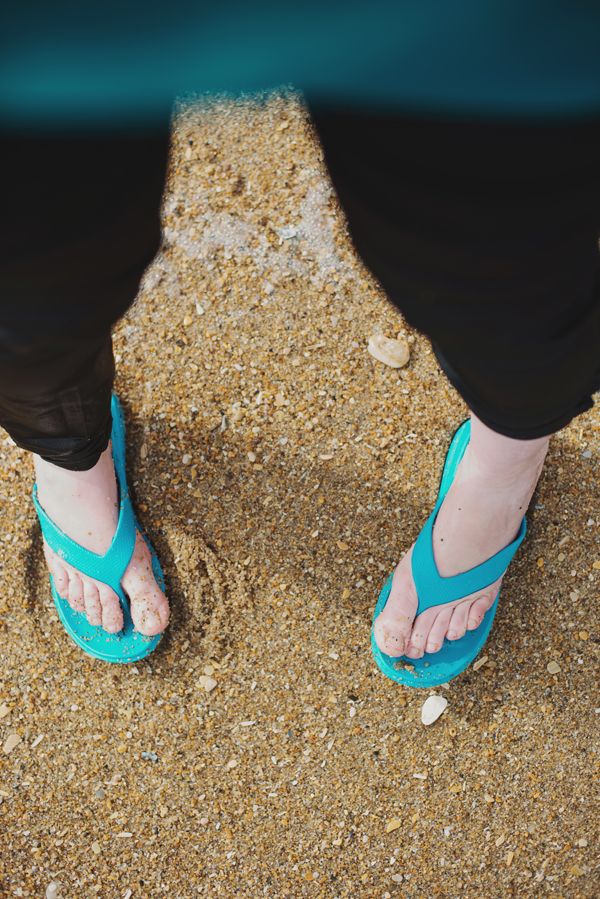
I have seen what I would consider a 75% decrease in hair growth. Basically the only hair I have left are the lighter brown, blonde and *cough*cough*gray*cough*cough* hair left. This is what I understand about laser hair removal: The darker the hair, the better the results.

I can tell you right now, if I stopped my laser hair removal now, I would be completely satisfied. It is SO much easier to take care of my bikini area now, and I can't say enough good things about it. However, that being said I have two more treatments scheduled and I am considering extending to the full treatment schedule. Treatments truly are that amazing and I am confident I could have an 80-90% decrease if I continue.

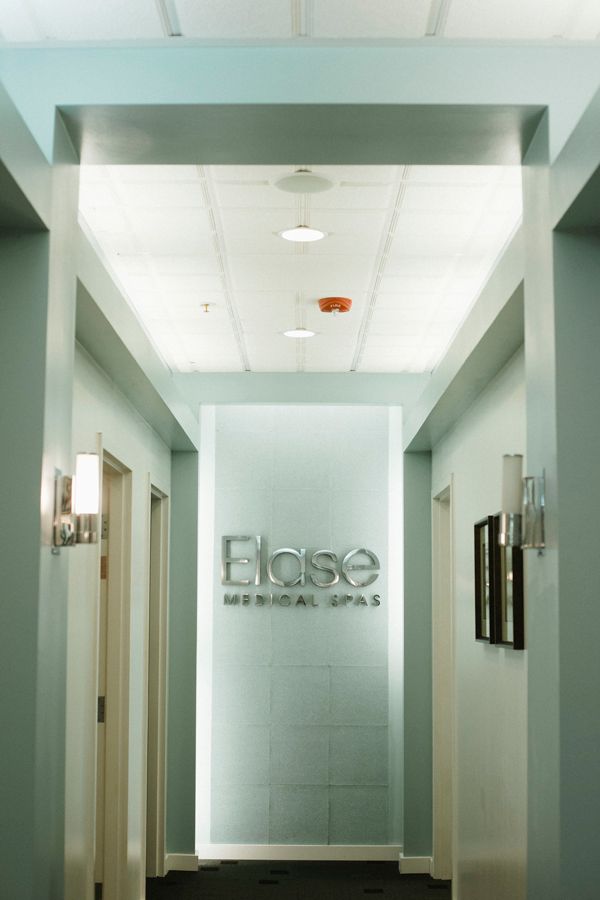
Curious? Call Elase for your free consultation. 1-801-495-2737 Feeling shy? Schedule online!***Disclaimer: For the next few months I will be blogging about my experience with Elase Medical Spas. While I am receiving treatments in return for my opinion about my experience, please be assured they are my own and I have chosen to be very choosy about the things I share with my readers, and any and all opinions I have about Elase and my experiences will be my own. I have chosen to work with Elase because I believe it can benefit so many of us who may be curious about a medical spa but may not feel comfortable approaching one on their own. I hope to change those feelings. Let's take care of ourselves and treat ourselves!***

Saturday, October 12, 2013

Click Retreat Photo Scavenger Hunt and Southwest Airlines


I am currently in Baltimore, MD, on my way home from the most amazing few days. I had the opportunity to attend the first ever Click Retreat sponsored by Southwest Airlines.

Southwest Airlines was SO. GENEROUS. and provided all of the attendees flights to and home from the retreat. Can you believe that?

As part of the retreat we had the opportunity to participate in a photo scavenger hunt. This was my first time participating and I was so excited for the opportunity to stretch my photography, and imagination. Even better? They are giving two winners a pair of round trip tickets to fly anywhere Southwest/Air Tran flies. Wha?

Onto the Photo Scavenger Hunt:

 photo LuggageattheDoor_zps04376a92.jpg

Your luggage at the door.

 photo SomethingBLUEonthewaytotheairport_zps9322a702.jpg

Something "BLUE" on the way to the airport.

 photo Airplanesnacks_zps975f4ecf.jpg

Airplane snacks.

 photo ASouthwestAirlineswinglet_zps75f86f97.jpg

A Southwest winglet.

   photo Theviewfrom35000feet_zps570c1d6d.jpg

The view from 35,000 feet.

   photo NorfolkInternationalAirportsign_zpsa8b2db65.jpg

Norfolk International Airport sign.

 photo TheAtlanticOcean_zps26f99a01.jpg

The Atlantic Ocean.

 photo AREDheart_zps64c1088a.jpg

A RED heart.

 photo Agroupshot_zpsf880bd69.jpg

A group shot (5 people or more) of Click Retreat attendees.

    photo Asandcastle_zps2dd92e00.jpg

A sand castle.

   photo ASelfie_zpsb1691747.jpg 

A "selfie".

 photo YourFlipFlops_zps0cf9ab2d.jpg

Your flip flops.

(The Atlantic swallowed my right flip flop. It came back 10 minutes later. Can you believe that?! Yay!)

 photo Ahumanpyramid_zps2a2045f0.jpg

Click retreaters making a human pyramid.

 photo SomethingYELLOW_zpse2a9c60e.jpg

Something YELLOW (your choice).

 photo Asunset_zpsb9a1b3c5.jpg

A sunset.

 photo AFreshFish_zps241d2664.jpg

A "fresh" fish. 
(Get it? "Fresh"? *Giggle*)

 photo SomethingILUV_zpsd29384c9.jpg

Something you LUV.
(Casey. I don't get to see her enough. Here I am keeping her from sweeping into the Atlantic like a flip flop.)

Thank you so much Today's Mama and Southwest Airlines for such a fun opportunity!


Friday, October 11, 2013

Maximus

 photo Max1Year028_zpsde032ee1.jpg  photo Max1Year030_zps1b0c5f9f.jpg  photo Max1Year025_zpsd3674712.jpg  photo Max1Year014_zps95ebea7a.jpg  photo Max1Year013_zps710f466c.jpg  photo Max1Year008_zps8355a0b1.jpg  photo Max1Year001_zpsf14c54e2.jpg

Sometimes kids cry on a session, and that is okay. Sometimes they don't look at the camera, and that is okay too. Sometimes we have to let go of what the world views as perfect, and create our own perfect.

View the entire session and order prints here.

If you are interested in having me photograph your family or child in a similar way, drop me a line: kimorlandini@gmail.com. I would love to chat with you. Sessions start at $350, and include a jump drive and digital downloads of the final images from your session.

Thursday, October 10, 2013

Camilla's Quilt Part 2 | A Bubble Quilt

After the heavy of yesterday, I think it is time to lighten things up with one of my favorite past times, quilting.

Remember part 1 of Camilla's quilt? Well, I finished it, almost a year ago, but I never got around to blogging the second part, so here it goes.

After ironing all of those crazy circles, it was time to stack them into their respective cool and warm stacks.

(Did you know that I am basically colorblind? Well, it is no easy feat for me to make stacks of different colors, but I succeeded!)

 photo DSC_9075_1_zps462e0da9.jpg

My "warm" stack:

 photo DSC_9076_1_zpsc7bbb542.jpg

My "cool" stack:

 photo DSC_9077_1_zps079f1b9e.jpg

Each stack had a different backing. The warm stack had a cream backing, while the cool stack had a pink gingham stack. I LOVE Riley Blake for this reason. Great core colors and fabrics. I love going a little "Gingham Style" too.

 photo DSC_9080_1_zpscb5370e5.jpg

Now for the tough part, choosing alternating warm and cool fabrics and laying them out so that none of the same fabric touches on the finished quilt. Whoosh. My least favorite part of quilting. So. Stressful.

 photo DSC_9081_1_zps610dd47b.jpg

Once I had the fabrics laid out, I stacked them back up in their alternating warm and cool circles. All the while reminding myself to keep them straight!

 photo DSC_9082_1_zps9bdb1549.jpg

Here is the underside of my stack:

 photo DSC_9083_1_zps4afd71fa.jpg

It is pinning time, and I am not talking about Pinterest! Pinning all four corners of the square is a MUST. These circles are thick and like to shift under the presser foot. Pin the backside of the circles together.

 photo DSC_9084_1_zps774dfdde.jpg


 photo DSC_9085_1_zps07c7bac1.jpg

Sew along one line. (LOVE that this quilt let's you draw in sewing lines. While this quilt can be tedious, almost anyone can make one!)

 photo DSC_9086_1_zps35b51a4c.jpg

Presto! Our first two circles are sewn together.

 photo DSC_9087_1_zpsa03ee230.jpg

Open out the backside circle portion.

 photo DSC_9088_1_zps151017b5.jpg

Pin. Again, I repeat, PIN! The bulky fabric will shift.

 photo DSC_9089_1_zps1365cec6.jpg

Then sew along the rounded edges.

 photo DSC_9090_1_zps0f434d2d.jpg

As you can see, I am not the world's most perfect quilter and I will NEVER win an award or a blue ribbon for my straight lines and beautifully matching edges...but that is okay. I gave up being perfect a long time ago.

 photo DSC_9091_1_zps692441f4.jpg

Continue along, sewing the rest of the strip in the same manner.

 photo DSC_9092_1_zps1149ae9c.jpg


 photo DSC_9093_1_zpsf6124626.jpg

Once the strip is finished, lay it out on the previous strip, backsides facing one another.

 photo DSC_9095_1_zps66fc9b2e.jpg


 photo DSC_9097_1_zpsbbaffe5c.jpg


 photo DSC_9098_1_zps90c66b31.jpg

Then? Pinny McPinalot. Pin. Pin. Pin.

 photo DSC_9099_1_zpsff4aefb6.jpg

Then? Pin some more!

 photo DSC_9100_1_zps7cbca775.jpg

Now, sew along the long seam, being very careful to make sure your seam sewn between the circle edges. You don't want to end up with any holes when you are done.

 photo DSC_9101_1_zpse2b42b20.jpg


 photo DSC_9102_1_zps76591af7.jpg

When the long seam is sewn, open out the backside portions of the circles and pin, pin, pin again.

 photo DSC_9103_1_zps14833eac.jpg

Then sew along the curved lines. This part may make you wish for death, or Hulk strength arms. Either way, repeat to yourself, "I can do this!". The quilt gets VERY heavy as you go on, and very bulky. If you do it right though, you can keep most of the bulk on your sewing table.

I prefer to sew these curves in a "snake like" manner, or an S shape going down the line. This makes it so you can keep the less bulky end of your quilt under your machine. I wish I had a better way to explain this but I don't.
 photo DSC_9104_1_zps70942dae.jpg

I sew one line of curves, and then go back to the top of the curves and sew the rest of the round edges.

   photo DSC_9106_1_zps361e940b.jpg

This quilt is SO fun to sew because you get to watch it come alive one row at a time, you don't have to wait until you are all finished to see the end result.

 photo DSC_9107_1_zps17f3a5db.jpg

Now is the time to finish your edges. You could choose to keep them "scalloped" just make sure your edge pieces do not have any pen marks or cut marks from turning the circles inside out.

I prefer my edges finished.

 photo DSC_9108_1_zps7d3095c1.jpg

Turn over your edges and pin.

 photo DSC_9109_1_zps176a0187.jpg

Finish sewing the curves.

 photo DSC_9110_1_zps34822d6e.jpg

Here is the finished edging. Clip threads and you are done!

 photo DSC_9111_1_zpsd055e88e.jpg

Here is the final product on the bed!

 photo DSC_9112_1_zps859f02e1.jpg  photo DSC_9113_1_zps3563e396.jpg

I love the back almost as much as the front! You can see the circle quilting through the back. Gah. ADORE!

 photo DSC_9115_1_zps30e47adc.jpg

Finally, the front! This quilt is so bright and fun and puts a smile on my face every time I see it!

 photo DSC_9116_1_zps7c452233.jpg

This quilt ended up being king size, about 82"x82" and weighs over 10.5 lbs. It. Is. Heavy...and cost a lot to make. Whoosh. I am certain I will not be making another anytime soon.

What am I working on next? Well, another quilt that involves circles, robots, orange and teal. Some of my favorite things. I will share when I am done.

xoxo