
This year she has taken on the gigantic task of teaching a 3rd/4th grade split class. She came up with an amazing idea to draw "magic" into her classroom theme for the year. Really wanting to mix things up a bit since some of her class from last year will be returning to her class again as 4th graders, she wanted to make sure they have a fun and different experience. (See? Amazing.)
I had the task of brain storming with her. She had so many wonderful ideas...she is super creative like that. My creativity lies in taking an idea and then making it happen.
My job? Find inexpensive Harry Potter-like glasses in bulk. Which I did! They arrive the day before school starts (because I have awesome timing like that.) Second? Cut some vinyl on my Cricut Mini for her classroom door with the saying, "Magic is believing in yourself. When you do that, anything can happen." Third? Find "magic wands" for each of her students.
The first two tasks were simple. The third? Not so easy. We discussed making wands for their dry erase boards...kind of a tough one. So we decided that pencils would be a good option for them to use when learning new facts, etc. (Not an everyday use.) So I searched online for wand pencils...yeah they don't exist, or if they do they are CHEESE city. So I told Lorraine (my beautiful step-mom) that I could make her some. I did a little Googling and found a few tutorials of differing "Wand Pencils" and "Harry Potter Wand Pencils". I decided to just get inspired by some of the ideas, tweak them to my own vision, and this is what I came up with.
A quick trip to Office Max and Michael's, and a quick rummage through my recycle bin got me everything I needed.
For this Harry Potter Wand Pencil tutorial you will need the following:
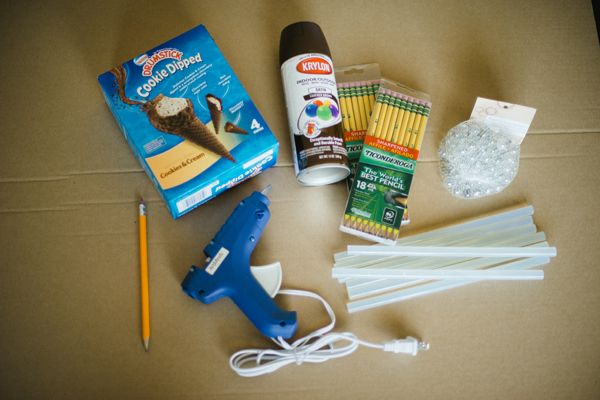
An empty box.
An old pencil.
An old pencil.
Hot glue gun.
Glue sticks.
New pencils.
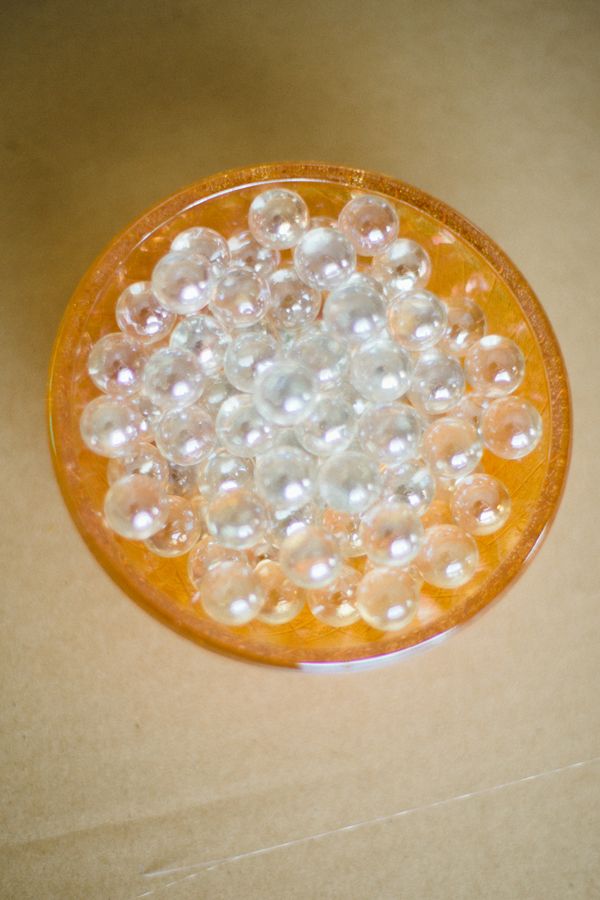
Average sized marbles.
Spray paint.
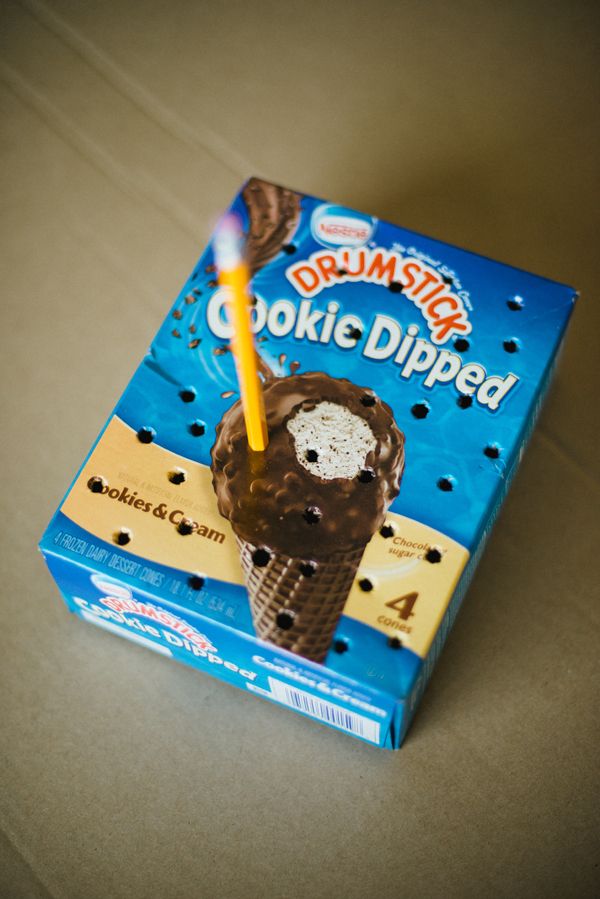
Begin by taking your old pencil and poking holes into your empty box. (I also used this time as therapy since I haven't been eating things like these delicious Drumsticks. Isn't the chocolate in the bottom of the cone the best part?)
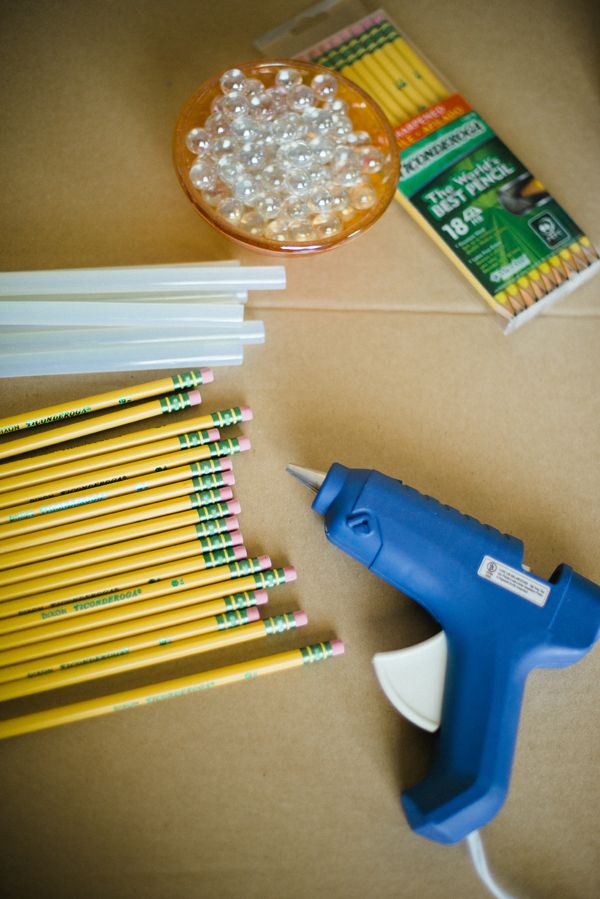
Now comes the hot glue part. For this you will need to have the glue sticks, pencils and marbles handy as it is kind of a quick process.

But before you begin, you must stop and take photos of your favorite black kitty. Every good wizard must have one.

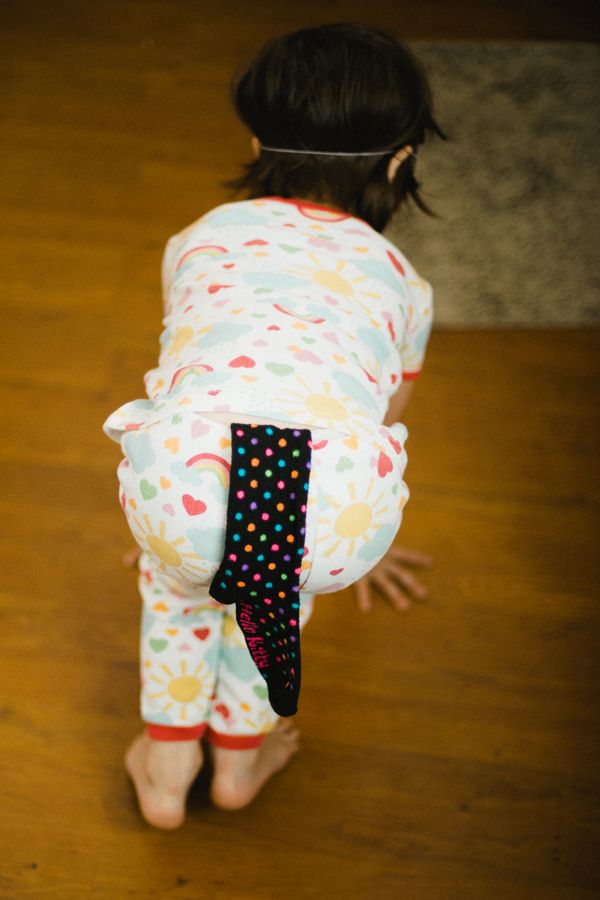
Mine has a polka dot tail. Be jealous.
(It is really difficult to show you a two handed process with only one hand as I take a picture. Yikes.)
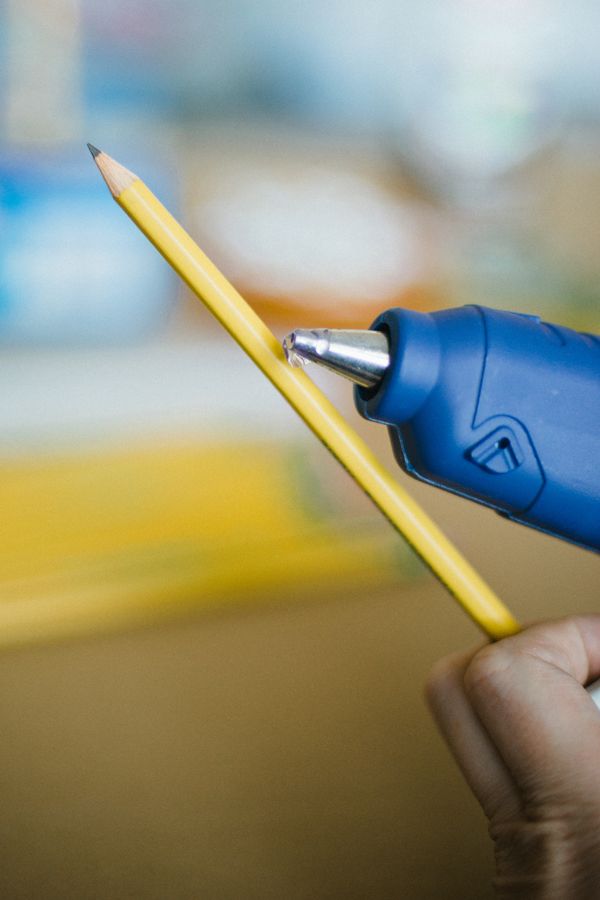
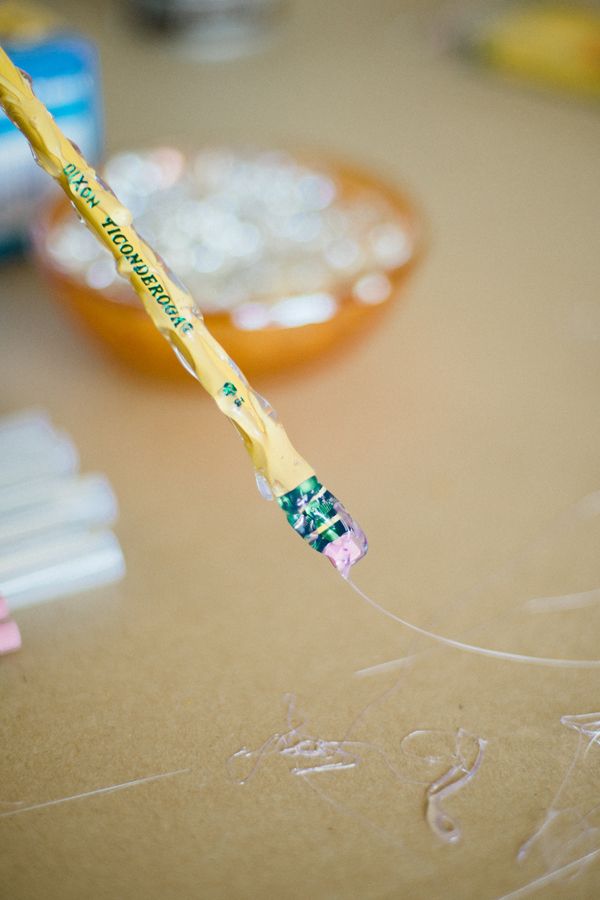
Begin adding hot glue about 1/4 of the way up the pencil.

I found holding the pencil by the tip to be most helpful as I could
rotate it around with my left hand as I glued with my right. Leaving
space at the writing end allows you to avoid being burned by the glue
and also allows you to build up the glue into more of the Harry
Potter-like wand shape.
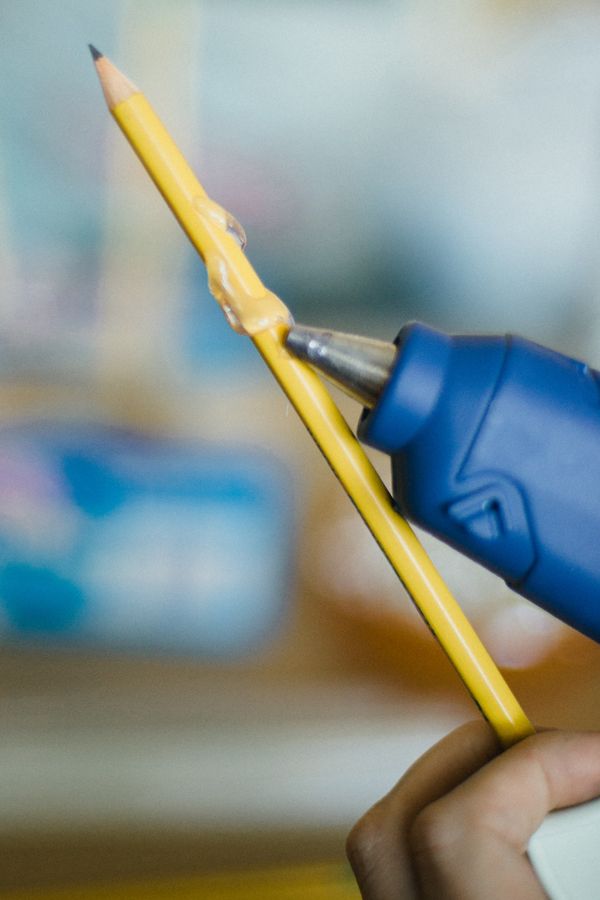
This step is completely random, the more random the better, and the more distressed and wood-like it will look. As I got to the top of the pencil I added a little more glue to make the wand thicker at the top, so that it would blend better with the next step, my favorite part: the marble.
This step is completely random, the more random the better, and the more distressed and wood-like it will look. As I got to the top of the pencil I added a little more glue to make the wand thicker at the top, so that it would blend better with the next step, my favorite part: the marble.
I added quite the gob of hot glue to the eraser portion of the pencil. I wanted to create kind of a drippy effect on the top of the pencil.

Add the marble and a little more hot glue and hold upside down until the glue sets up enough not to 'drip' anymore. You want to add enough glue that it will hold the glass marble in place. I am still not positive how well the marble will hold up, but I have tossed the pencils and wands around a lot and haven't lost any yet. However, I did buy some super glue to have on hand just in case.
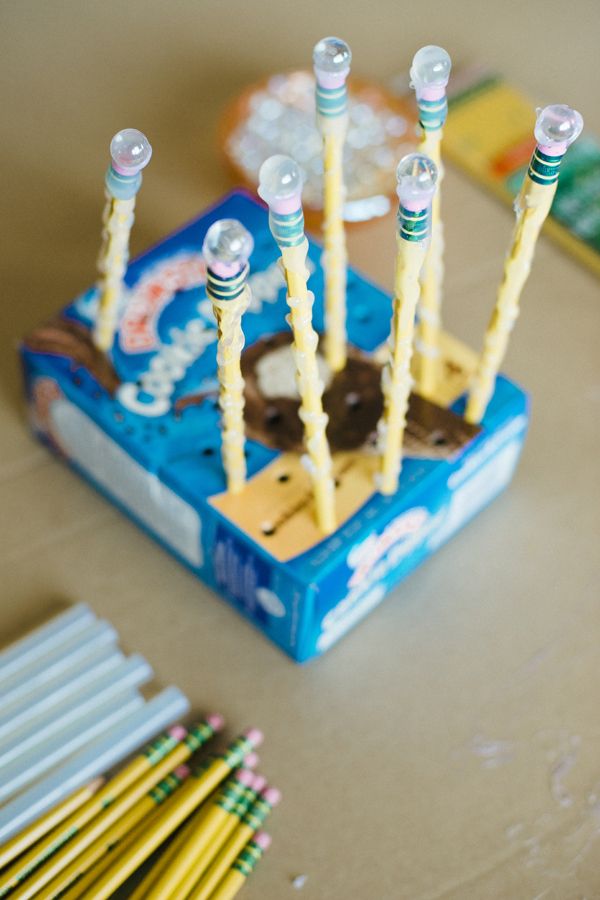
Once the glue was set enough, I placed the pencils into my cardboard box to cool and set completely. Only once did I space it and set a pencil down on my work surface. (No one wants that wand, promise.)
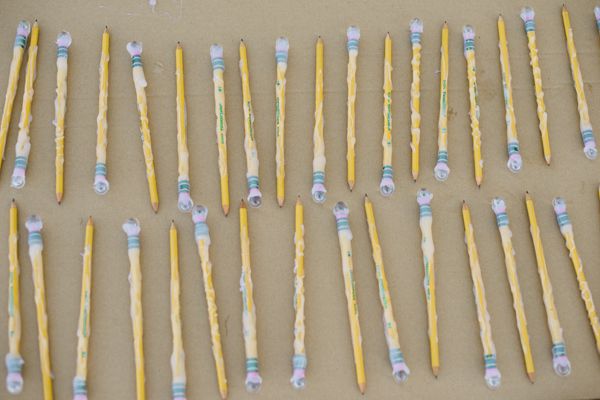
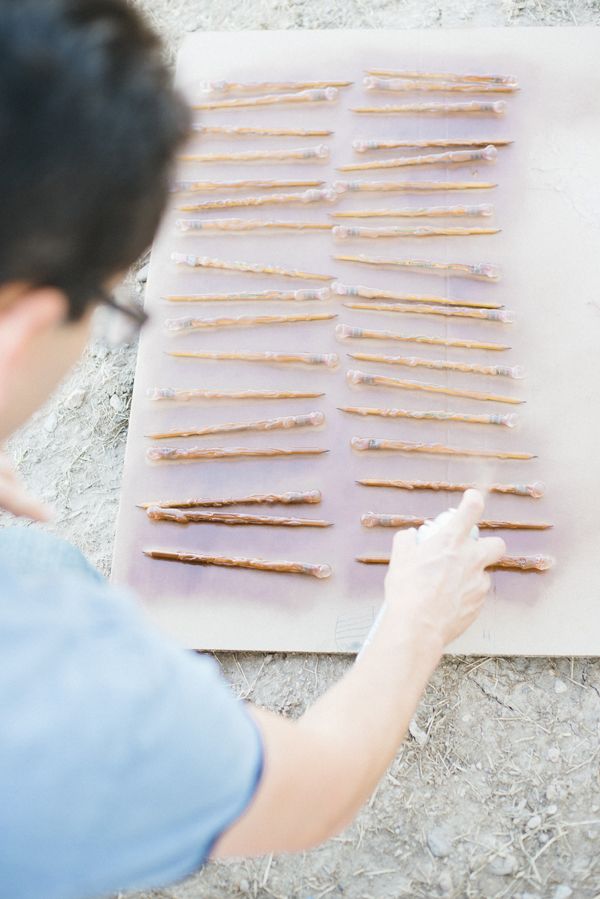
I then took the pencils outside where they came to life. I gave them ample space on my work surface to give them a good coat of spray paint.
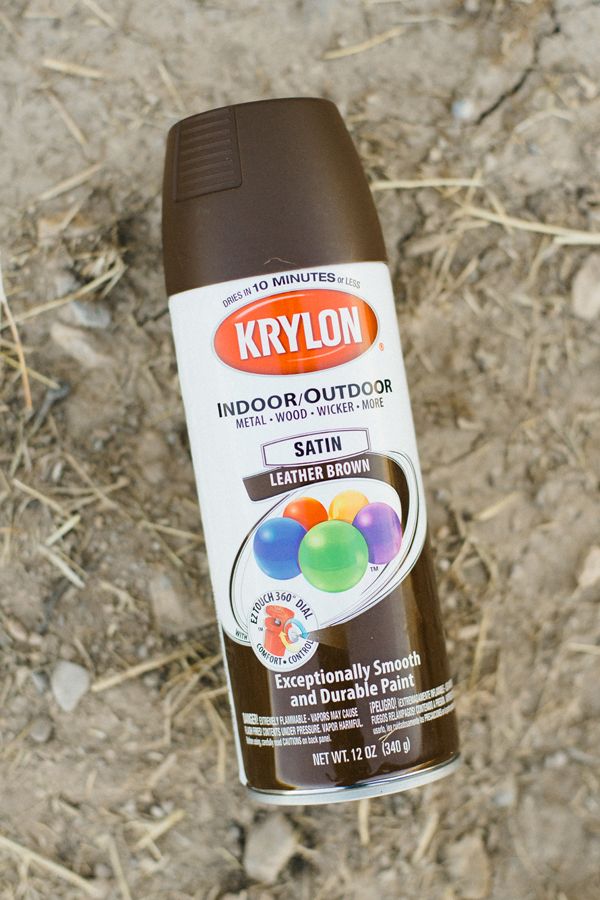
I went with a Krylon satin finish paint. I love this spray paint, and it comes in so many beautiful colors and finishes. I am like a kid in a candy store. This time the color was plain old boring brown...but that is what color Harry's wand is right? I liked that the satin finish left a closer to wood look than a gloss would have.
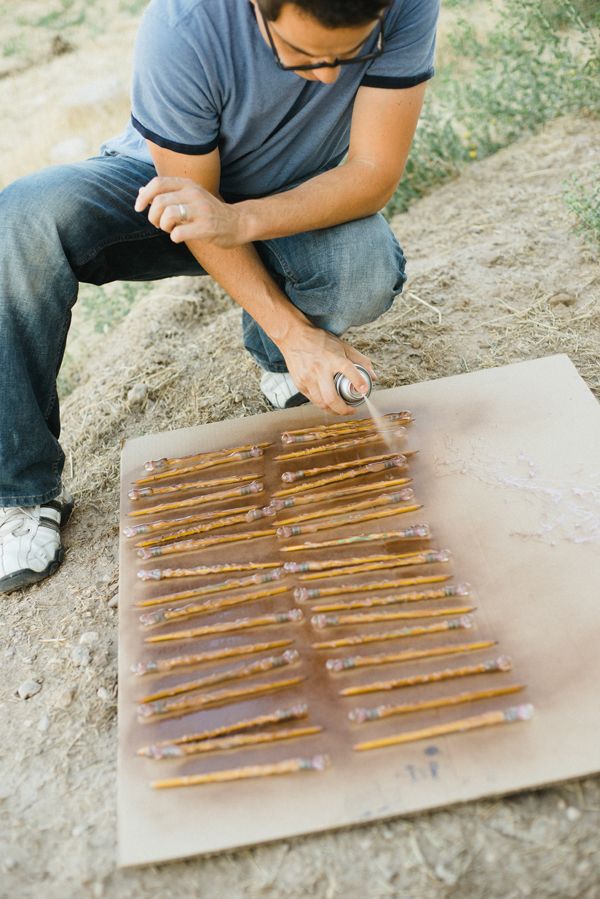
This is when my man got in on the action. I think he saw me having too much fun, so I obliged and let him paint away.
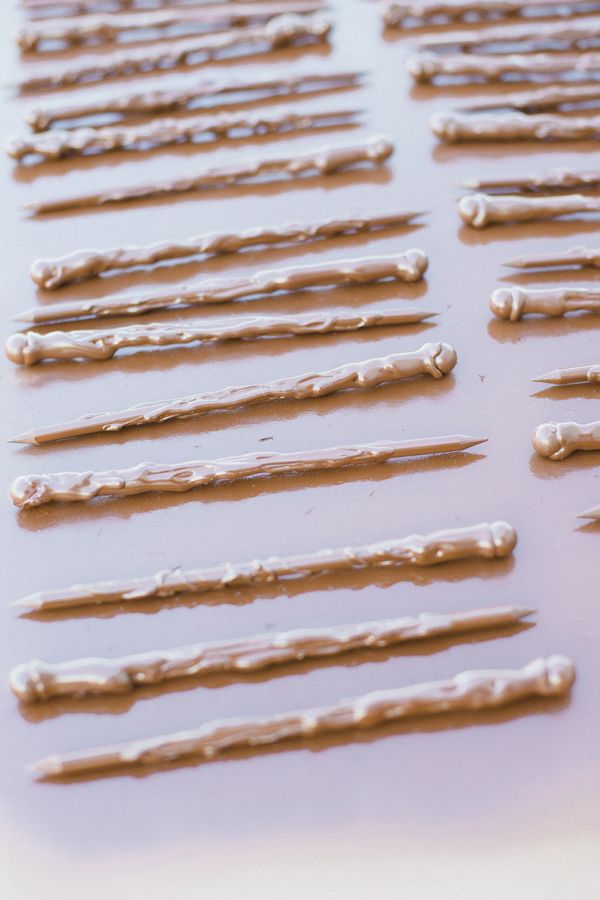
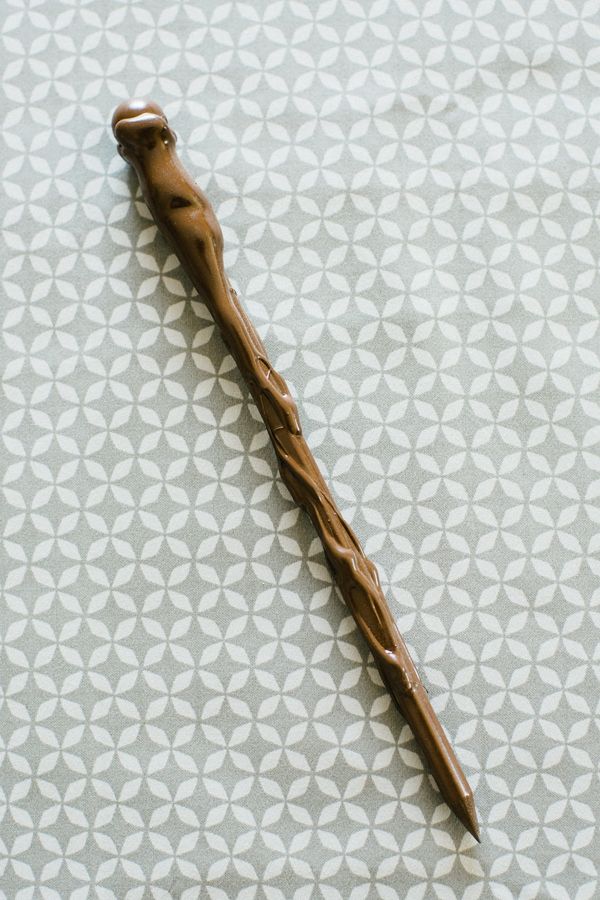
I let the wands dry for about an hour. They looked like chocolate when they were wet.
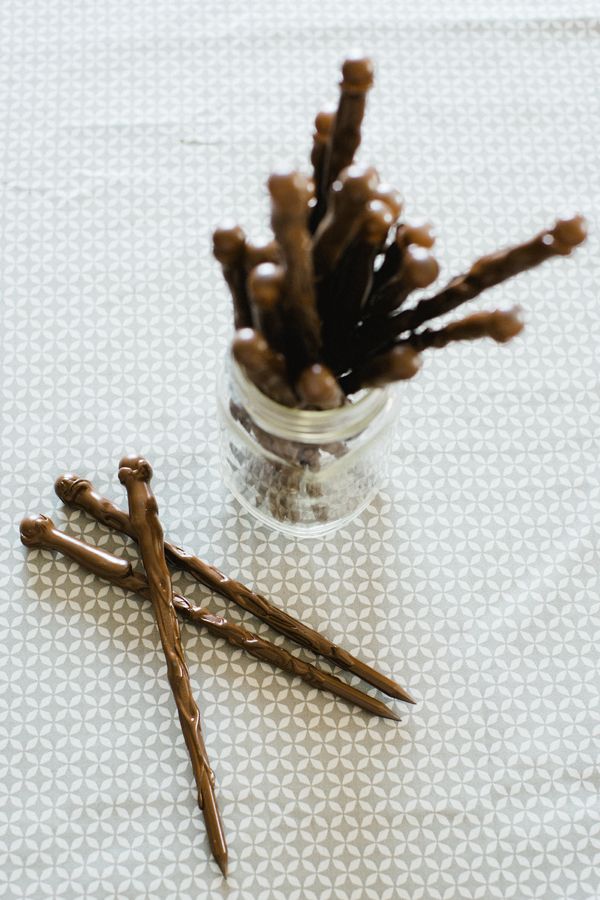
I thought it might look cool to distress the marbles with sand paper to get the paint off, I got about three done and decided that looked super dumb, so I quit that idea since I loved the entire wand brown. However, you can see in the photo that the paint over the marble looks kind of shimmery and still magical.
I chose to buy pre-sharpened pencils because I did not want to sharpen them after the entire process, but the lead had been coated with spray paint. I just ran each pencil lightly over some sand paper and voila...it writes perfectly.
What an exciting way to welcome these children into the new school year. A magical year it will be.