
Family photos are officially coming up around the corner. I wasn't sure that I even wanted them this year. I went back and forth, back and forth, and then the last few weeks I have felt a bit better about the idea of having them done, so I decided to start choosing some colors that I might like to wear. I am pretty much obsessed with mustard yellow right now. I bought the skirt below for myself a few weeks back and have really enjoyed the pop of color it has brought into my wardrobe. However, I didn't want to wear this skirt for our family photos because I found a super cute navy skirt for me and an adorable mustard colored belt to match my favorite heels. I then had this strong desire to find a mustard colored dress for Memms as I had found a cute little navy blue number for Millz on eBay. I dare you to try to find a mustard colored dress for a six year old. It is next to impossible unless you go to some specialty bridal store and pay out the nose. So, I had this thought, "What if I buy that same skirt and make a dress for Memms?"
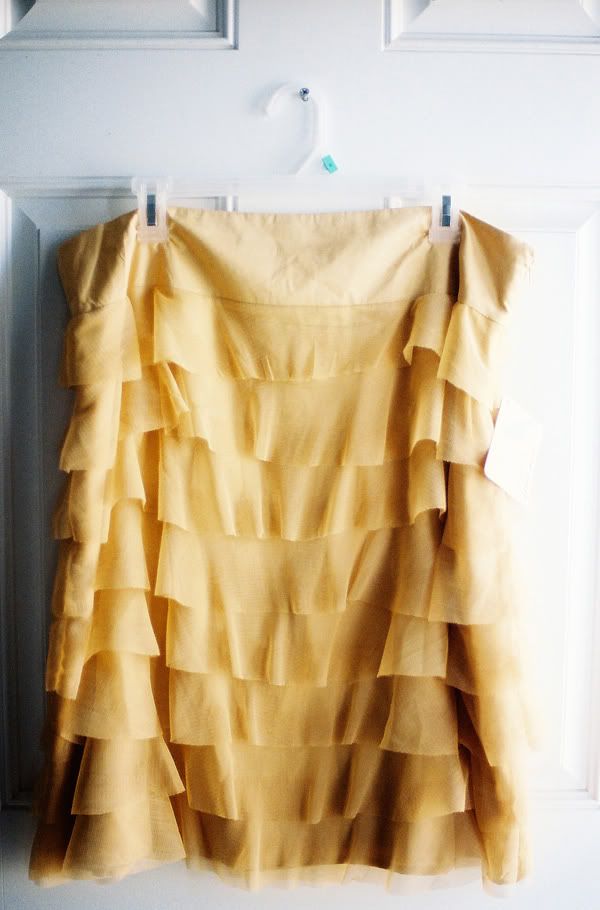
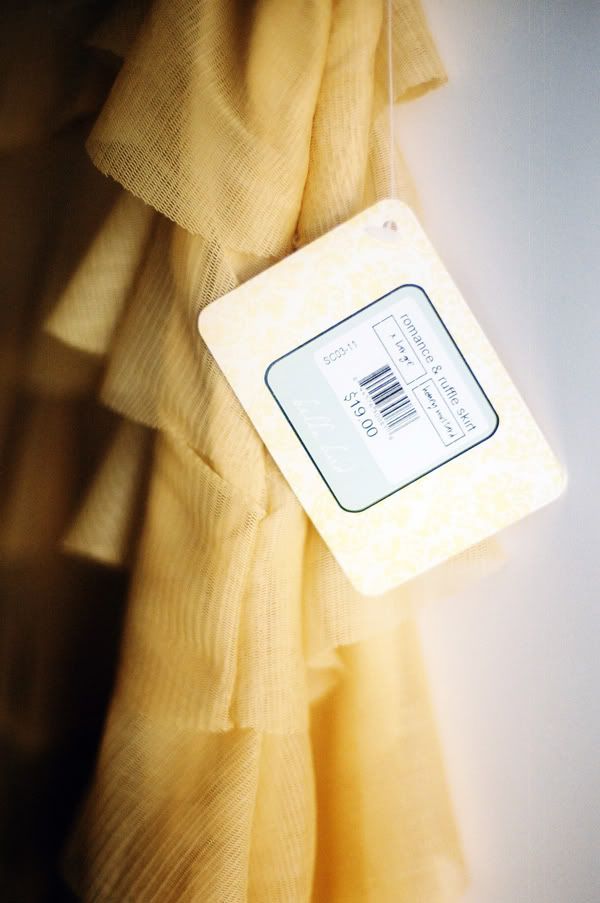
As you can see the skirt was $19 from Walmart. They have this adorable new line of clothing at some of their stores called: Bella Bird. I bought the biggest sized skirt they had, which was XL. I wish oh wish they had a 2XL as it would have given me just a bit more extra fabric to make my sleeves a bit longer (You will see what I mean as the post continues.
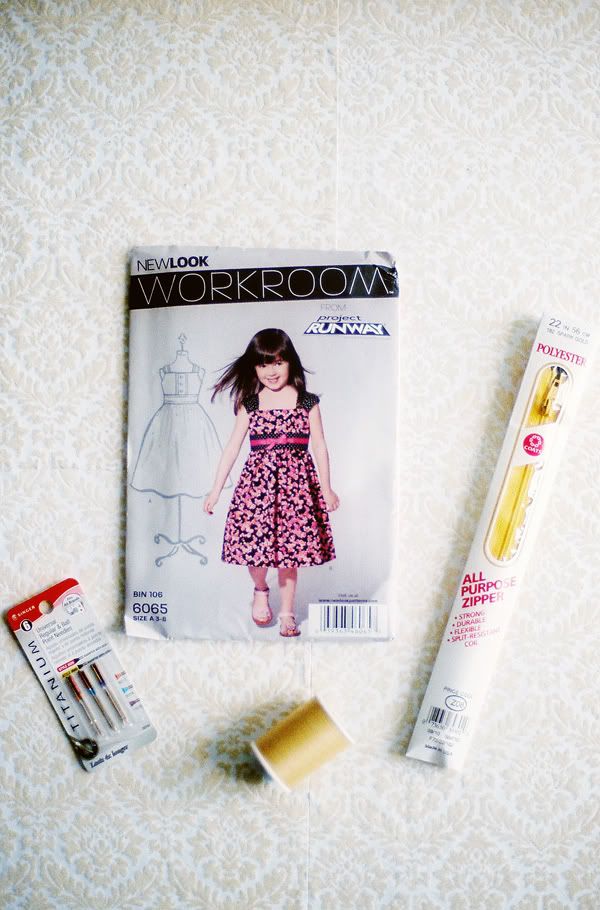
I purchased some needles specifically for sewing tulle and satin. I also bought matching thread and a zipper. Please note: I did NOT use the zipper. I will be returning it to the store because I did not end up needing it. (Are you crazy? If I don't need to set a zipper I am NOT going to. This equals a level of difficulty that I can't even handle.) I was also going to research sleeves via google, but during my trip to Walmart to get the skirt, thread, needles, etc, I came across this super CHEAP pattern with a dress that the bodice was straight across and sleeves exactly as I had envisioned them. SO, I bought the pattern, only to see that the sleeves were basically a rectangle with slightly rounded ends. The pattern was only $2 so I feel it was worth it to have the photo to reference as well as the pattern to cut from. So, in essence, this dress cost me $25 plus 90 minutes of my time.
I was ready to get started. Now, let me tell you something about me and my sewing style. You know Moosh in Indy? Well, I was lucky to know Casey before there was a Moosh and a Vivi and before there was ever word of Indy. She and I met at Beehive Clothing where they sew all of the temple clothing, and where my religion sews their garments. I am sure you have heard of garments, if not, feel free to read that link a little more in depth. There is nothing to fancy about them, but they have to be sewn, and I was a seamstress there for a few years. A place Casey lovingly refers to as, "The Celestial Sweatshop." If you know nothing about line sewing, basically one person sews one operation then sends the articles of clothing down the line and the next person does the next step. Needles are unheard of, and you sew as fast as humanly possible because you work on piece rate. I became a mad sewer, and a good sewer, but also a lazy one and I lack sufficient patience to be a perfect sewer. It works for me, it may not work for you. Which is why I see I am missing a few steps in my photo tutorial. Forgive me?
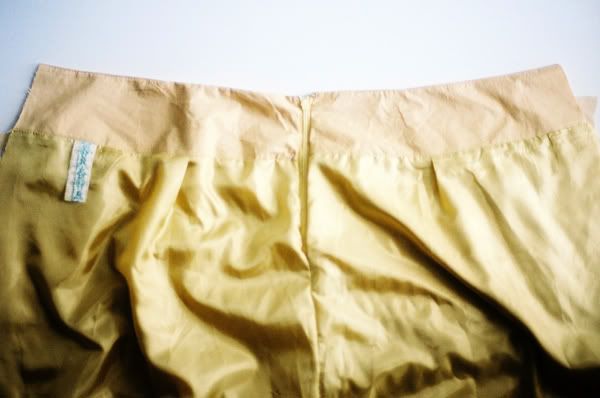
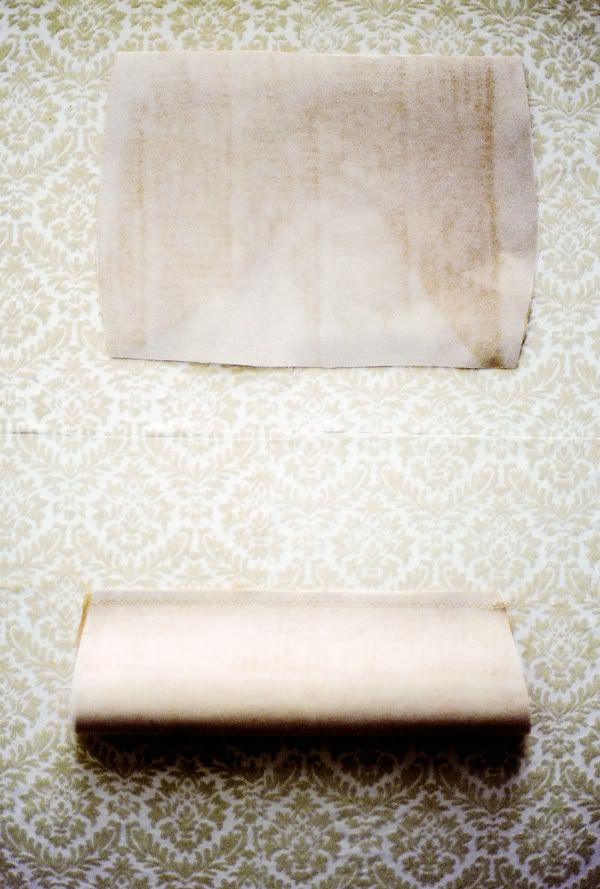
Now, down to business. See all the layers of this skirt? I decided (which isn't pictured) to try the skirt on Memms and pin it about 1/2" away from her body leaving the existing zipper as a side enclosure under her arm, with the excess fabric ready to be cut off. So, after pinning the excess 1/2" from her other side (side opposite the zipper) I made the brave jump to cut off the excess. (This is the portion I used to make the sleeves.) I didn't have much left over, which is why I wish there had been a 2XL skirt so I would have had a bit more sleeve material to work with. Also, I should mention Memms is about a 6/7 in little girls so this skirt worked perfectly for her size.
I was ready to get started. Now, let me tell you something about me and my sewing style. You know Moosh in Indy? Well, I was lucky to know Casey before there was a Moosh and a Vivi and before there was ever word of Indy. She and I met at Beehive Clothing where they sew all of the temple clothing, and where my religion sews their garments. I am sure you have heard of garments, if not, feel free to read that link a little more in depth. There is nothing to fancy about them, but they have to be sewn, and I was a seamstress there for a few years. A place Casey lovingly refers to as, "The Celestial Sweatshop." If you know nothing about line sewing, basically one person sews one operation then sends the articles of clothing down the line and the next person does the next step. Needles are unheard of, and you sew as fast as humanly possible because you work on piece rate. I became a mad sewer, and a good sewer, but also a lazy one and I lack sufficient patience to be a perfect sewer. It works for me, it may not work for you. Which is why I see I am missing a few steps in my photo tutorial. Forgive me?
Now, down to business. See all the layers of this skirt? I decided (which isn't pictured) to try the skirt on Memms and pin it about 1/2" away from her body leaving the existing zipper as a side enclosure under her arm, with the excess fabric ready to be cut off. So, after pinning the excess 1/2" from her other side (side opposite the zipper) I made the brave jump to cut off the excess. (This is the portion I used to make the sleeves.) I didn't have much left over, which is why I wish there had been a 2XL skirt so I would have had a bit more sleeve material to work with. Also, I should mention Memms is about a 6/7 in little girls so this skirt worked perfectly for her size.
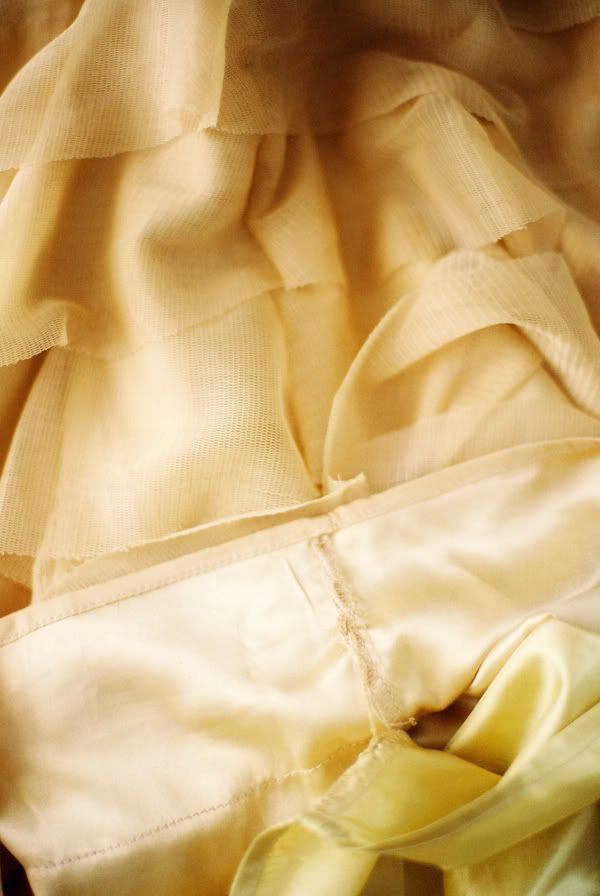
Here is the skirt after I cut off the excess. You can see on the left the original tag, which was in the middle of the skirt, and the original side zipper that I kept on the side which will now go just under Memms' armpit. Are you with me? We are looking at the inside where the tag is and the lining.
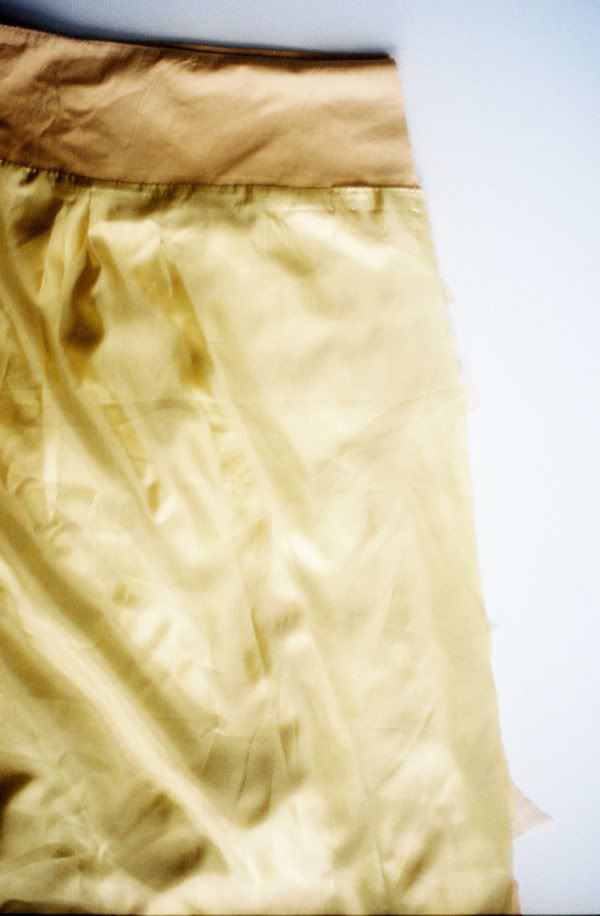
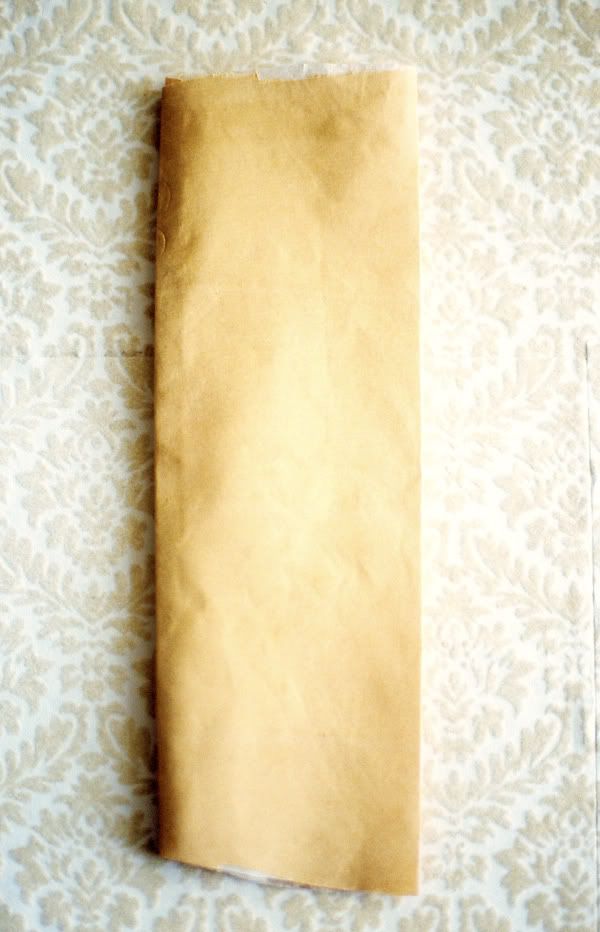
I then put right sides together and sewed her up.
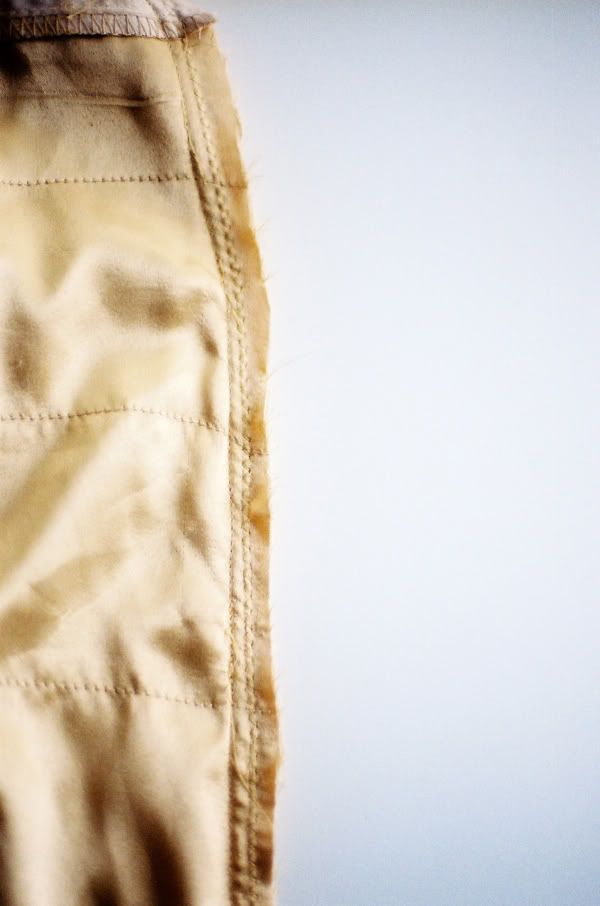
Here you can see the new side seam. I sewed the lining and then the outer shell. This fabric frays a lot, and since I don't have a serger I left a wider seam allowance and then zig zag stitched on the outside of the seam to help keep it all together.
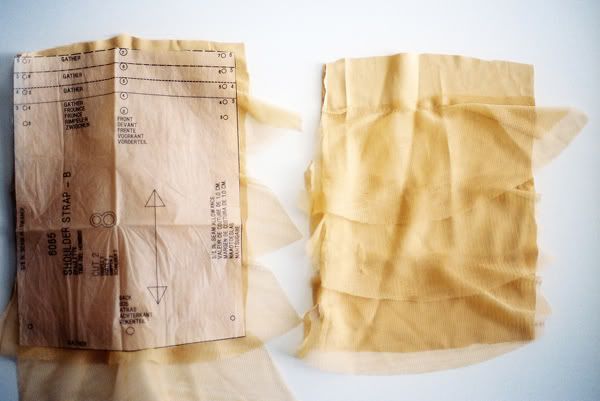
Next, I cut out the sleeves. I used the size 7 sleeve pattern. This is where I wish I had lengthened the sleeves a few more inches because: 1: I wasn't thinking, I went cut happy, but 2: I would not have had enough fabric to cut them longer anyway, so it is what it is at this point. I cut the sleeves, then unpicked the tulle and removed it from the base fabric.
The other thing I wished I had bought was stabilizer. I only had some very thick stabilizer on hand, and hindsight I would have ran back to the store to get a thinner version. The thicker worked, but is quite stiff for this thin material. I decided to use stabilizer since the sleeve material was SO thin, I was worried about fraying, and since I don't have a serger, I wanted a little more stability. Would I use it again? Probably not. I would forgo it. Anyway, again, I learned a lot.
In the top photo you can see where I ironed the stabilizer to the backside of the sleeve, and in the bottom photo you can see where I put right sides together and sewed along the seam, again using the zig zag stitch outside my straight stitch.
In the top photo you can see where I ironed the stabilizer to the backside of the sleeve, and in the bottom photo you can see where I put right sides together and sewed along the seam, again using the zig zag stitch outside my straight stitch.
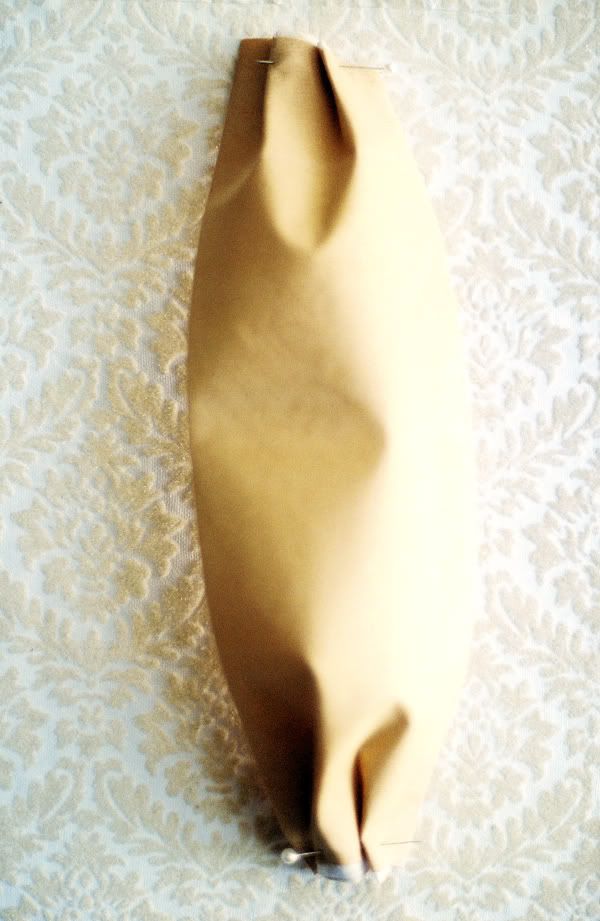
This is where I regretted my mother of all thicknesses stabilizer. It was a beast to turn inside out, however, I made it and then pressed the sleeve flat leaving the seam right on the edge. In this photo the seam is on the left hand side.
Instead of machine gathering the sleeve, I just hand pleated the sleeve in three pleats and then pinned it, careful to lay it out next to the dress shell so that the pleats went in opposite directions and that the sleeves were facing the right way for when they went on the dress. In this case, the seam of the sleeve faces Memms' neck once it is sewed on, so that the outside of the sleeve is a little bit flared out creating more of a 'sleeve' like shoulder.
Remember how I said I am not a patient sewer? Add having to tutorialize putting the sleeves on, and well, you don't get those photos. Basically to add the sleeves, I tried the dress on Memms again, then eyeballed about where the sleeves needed to hit in the front and in the back. I then pinned them in place with safety pins. Then, I unpicked the seams that were the top of the skirt just enough so that I could slide the sleeve ends in and sew a straight line across so that they looked smooth and as if the 'dress' was bought that way.
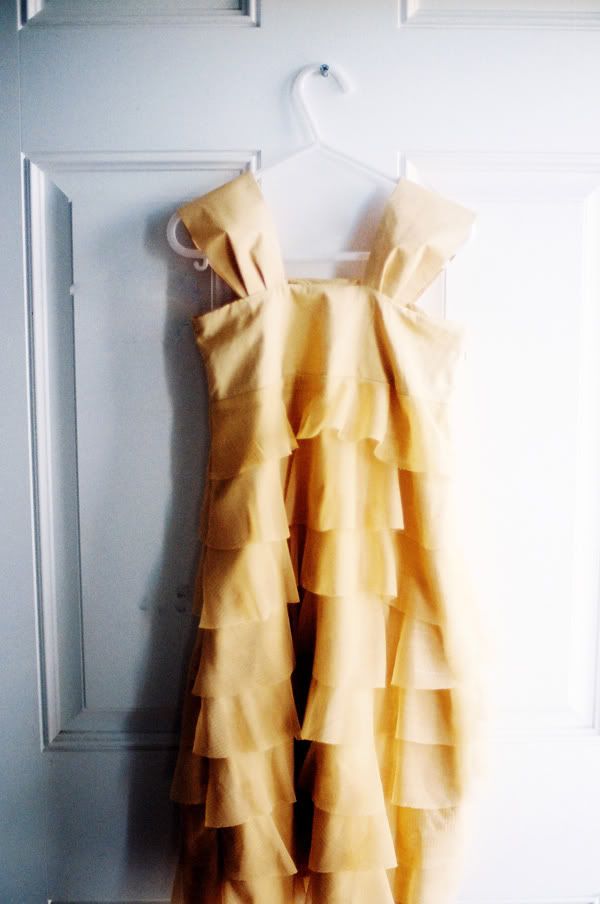
SO neat huh?
SO neat huh?
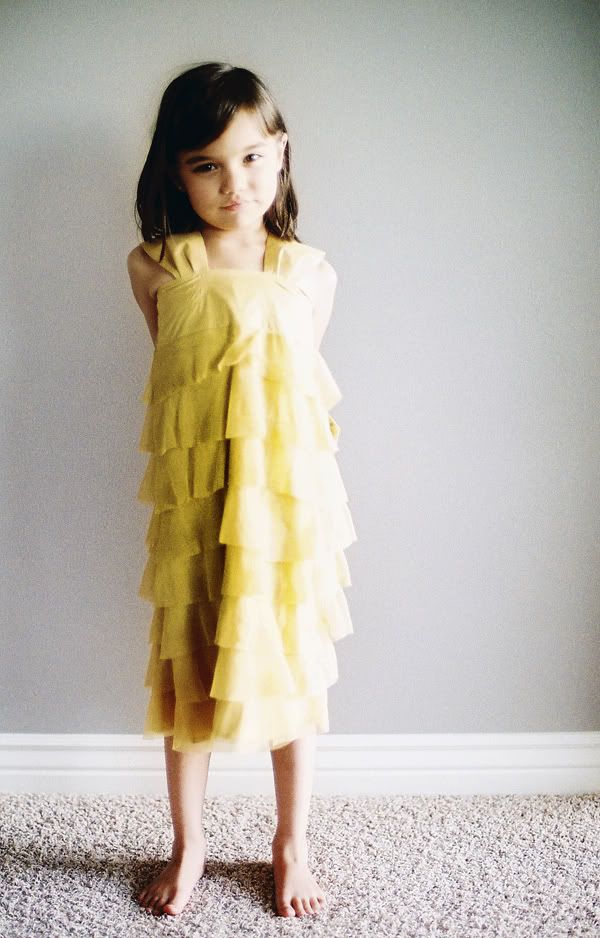
The dress wasn't laying superbly flat so I got out a little more stabilizer and sewed a piece across the front so it lays a lot more flat now. I think this happened because the sleeves were so heavy and bulky it was pulling the fabric too much. Also, this is where I would have made the sleeves a little longer so that it gave a little more in this area. These photos were taken before I added the stabilizer line across the top and it indeed lays a lot flatter than these photos show.
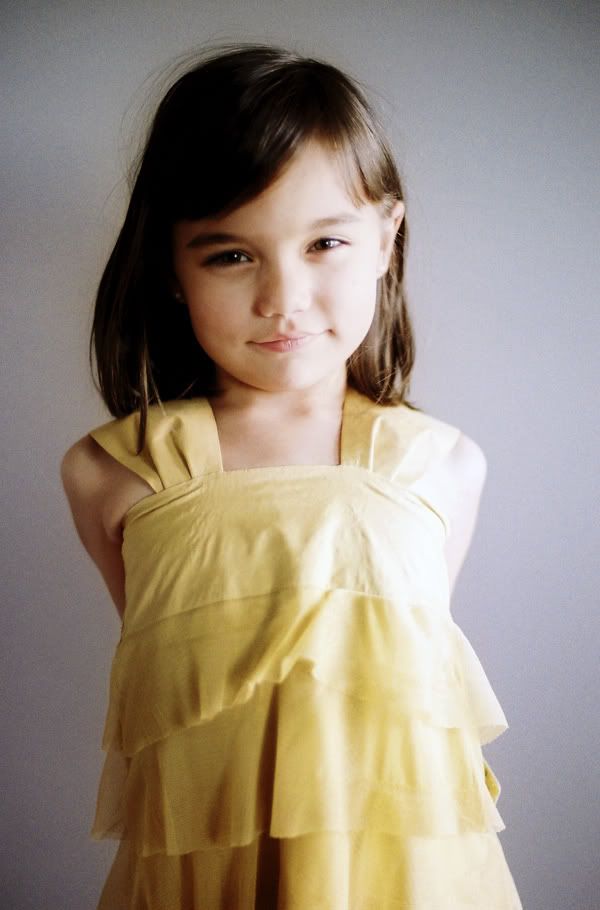

Anyway, it looks adorable on her and she LOVES it. She can't wait to wear it to school and to church and is dying that I won't let her wear it until after family photos. (I am so so mean aren't I?)
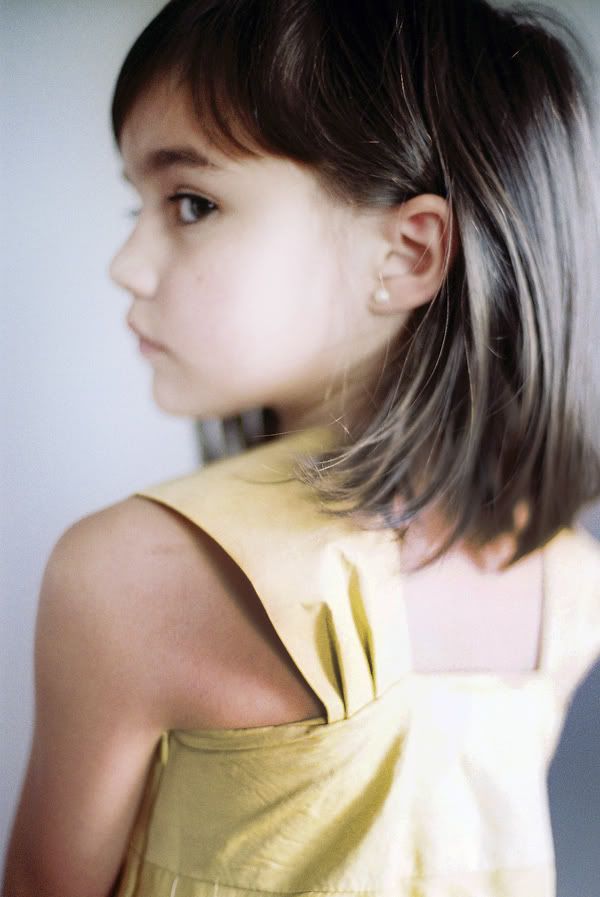
Here it is finished. Thank you Walgreen's for cutting my negatives once again and making my color look whack. (Blergh.) I was just too excited to share these with you, I sent Hubbs to Walgreen's after I finished so I could share them with you before they got lost in the shuffle of life.
The funnest $25 I have spent in a long time. I can't wait for family photos, they will mean just a little bit more this year than they ever have before.

All shot on a Nikon F100, 50mm 1.4 lens at 1.4 on Fuji Superia 800 Film . Processed at Walgreen's (not their finest scanning job. Blech.)
11 comments:
You. Are. AMAZING! Holy cow, woman! You are an endless supply of talent.
So freaking adorable.
You kill me. I'm amazed.
Mmmm. Yummy. I may or may not be going to Walmart to buy that skirt tomorrow.
Holy crap! You are amazing! BTW, I love that new line. I haven't seen it at all the Walmarts, but I bought a ruffle dress, and I was eying that skirt. Love the mustard yellow!
Absolutely LOVE your creativity!!
you are so talented KIm! I ♥ that dress!
Ok seriously! That is freaking adorable! Love that you used the existing zipper... it makes it seem almost plausible for me to try... next stop walmart!
Oh and totally digging the mustard yellow! I think it may be my new favorite color!
love, love, love this! So amazing! It will be perfect! Way to go!
I love it. Gray and yellow, hhhmmm could pinterest have anything to do with this new obsession.
Cute, adorable and so creative. Love the dress and the photography.
Post a Comment