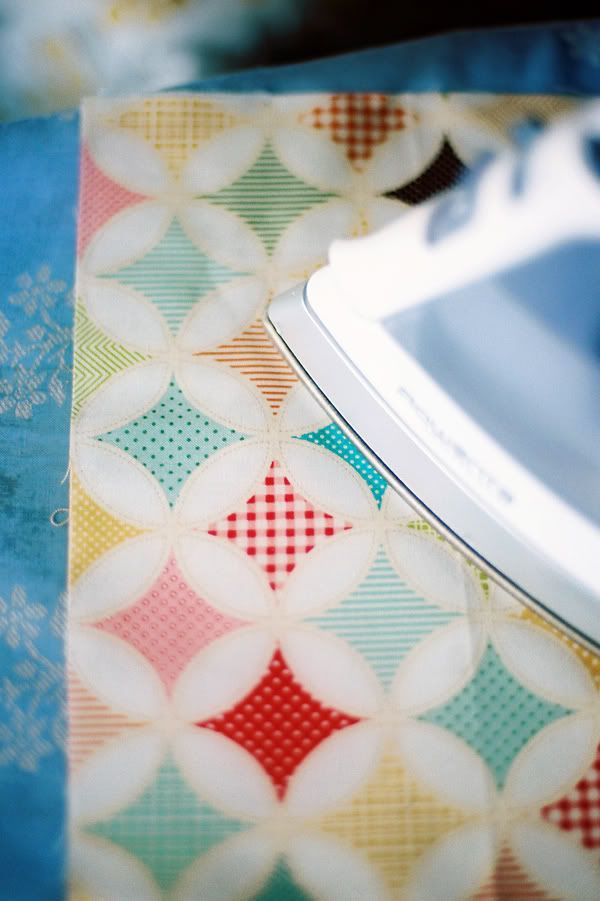
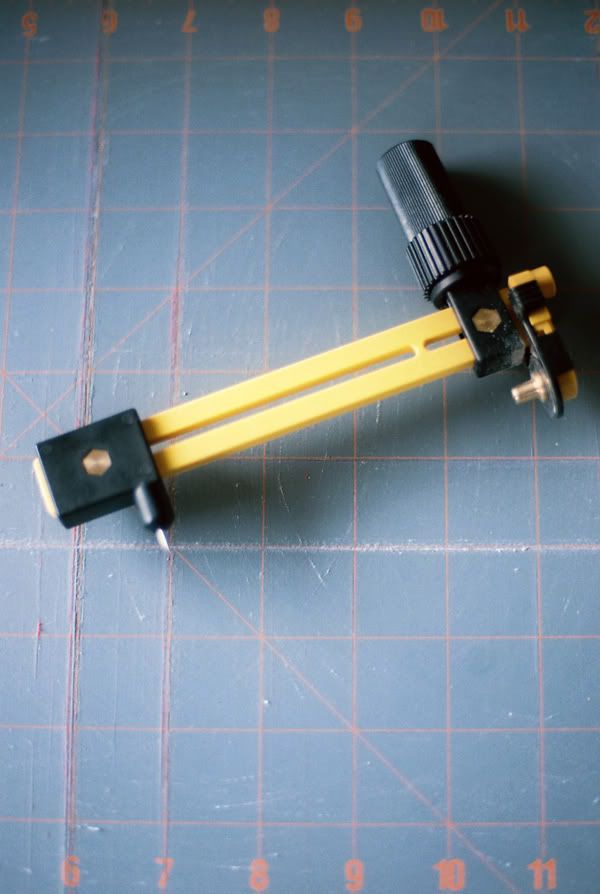
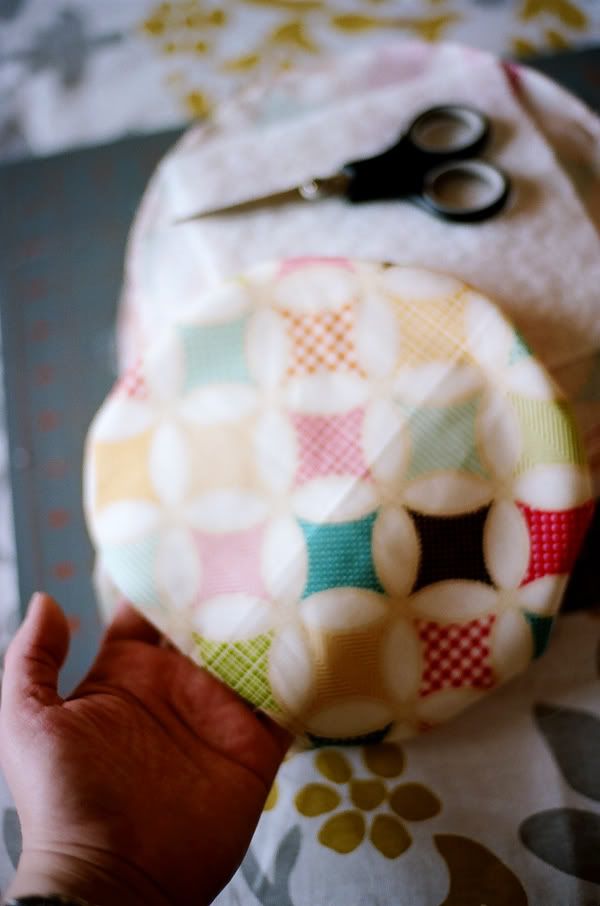
After the heavy of yesterday, I think it is time to lighten things up with one of my favorite past times, quilting.
Remember part 1 of Camilla's quilt? Well, I finished it, almost a year ago, but I never got around to blogging the second part, so here it goes.
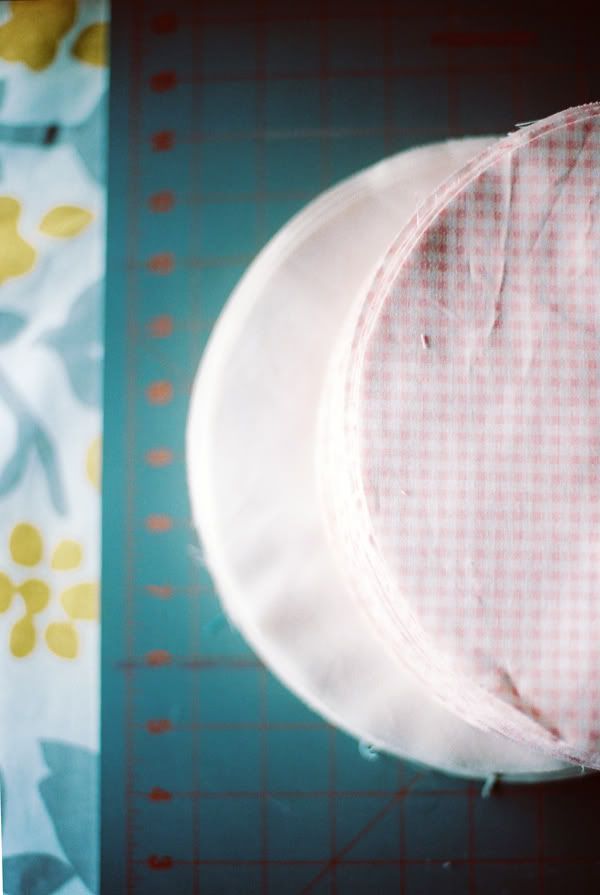
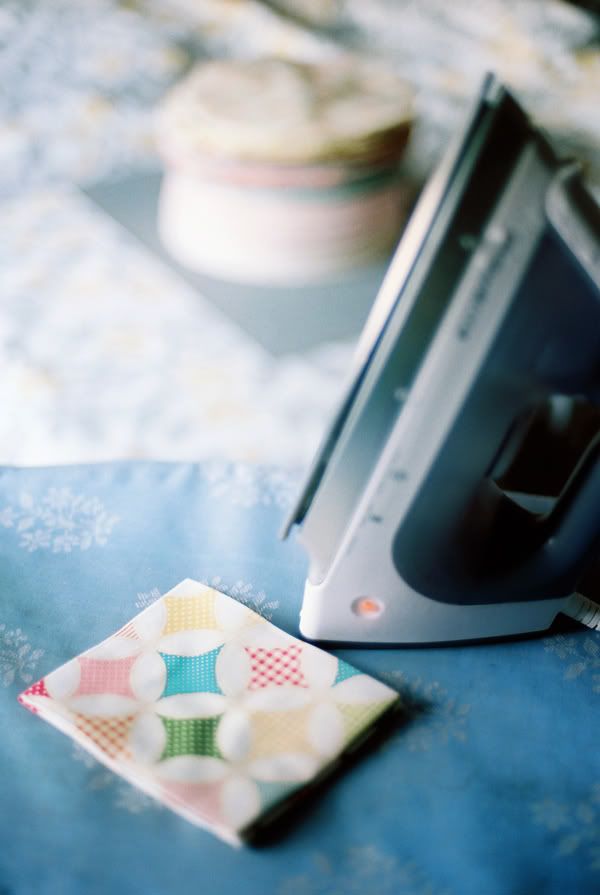
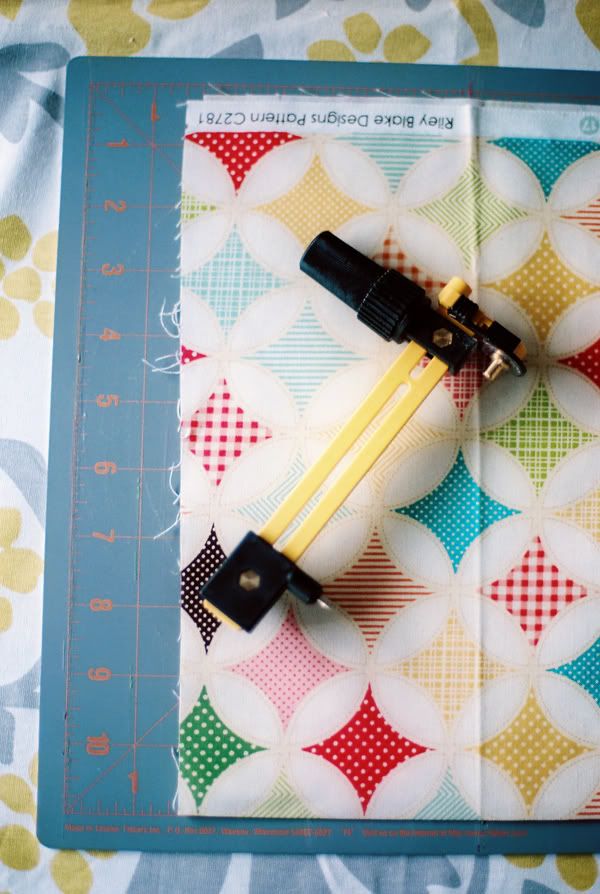
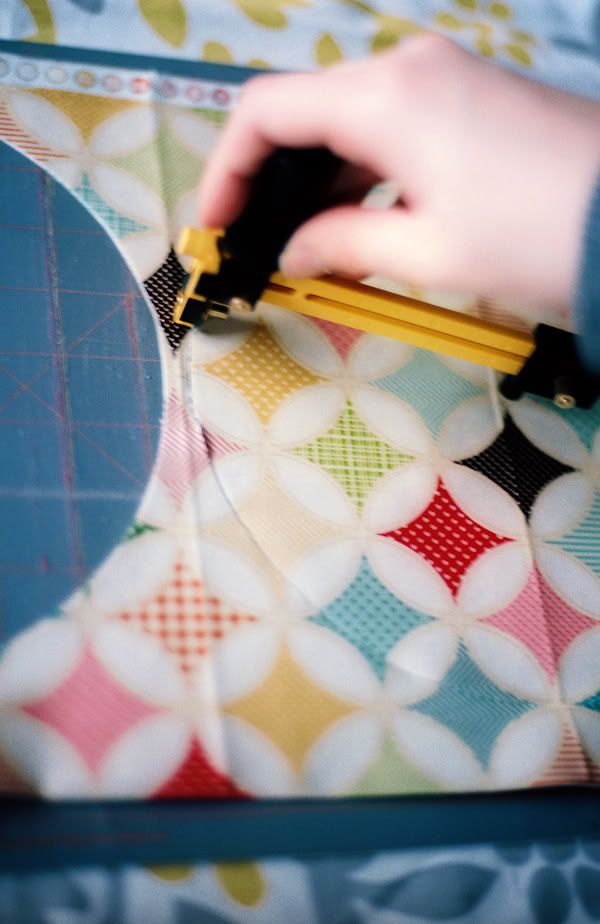
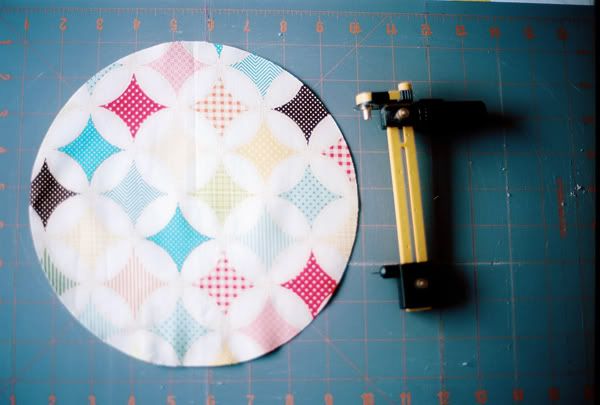
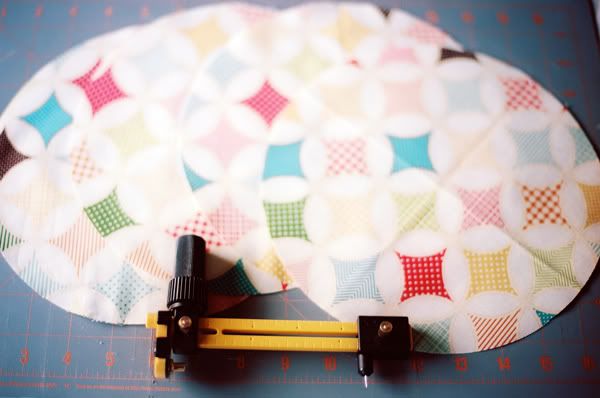
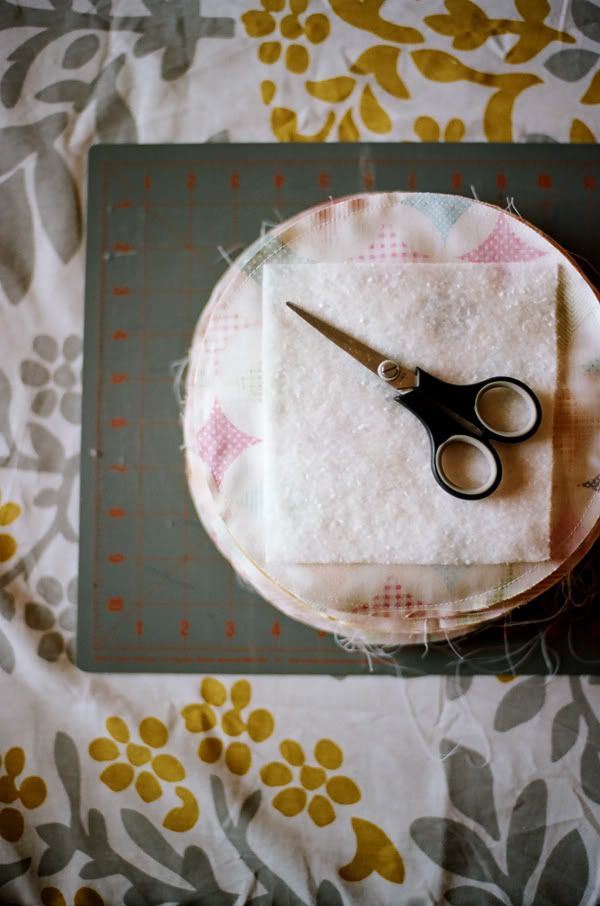
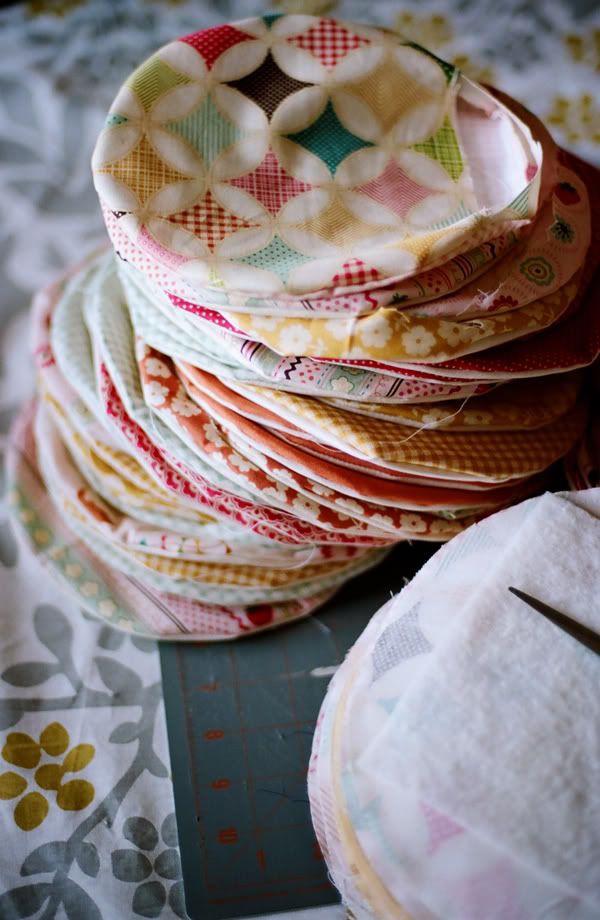
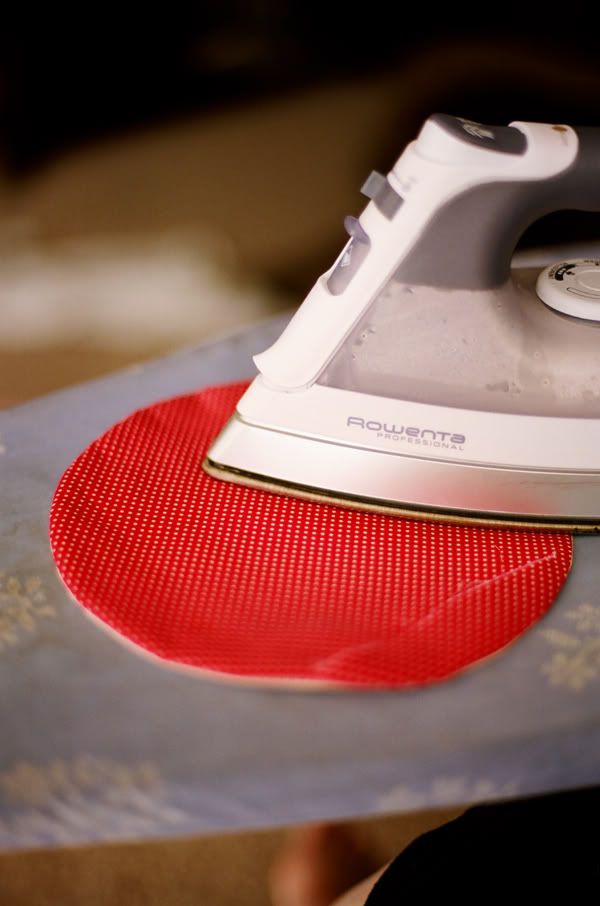
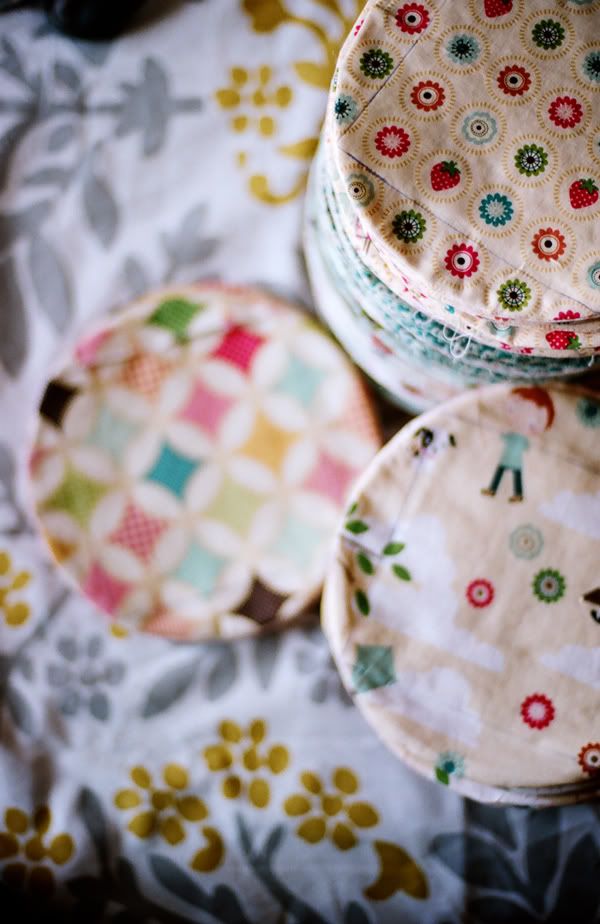
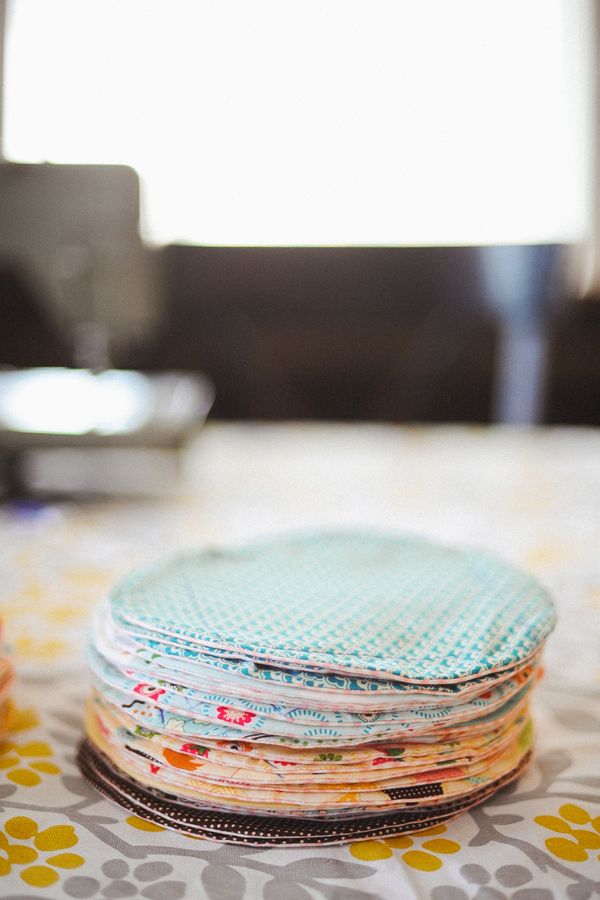
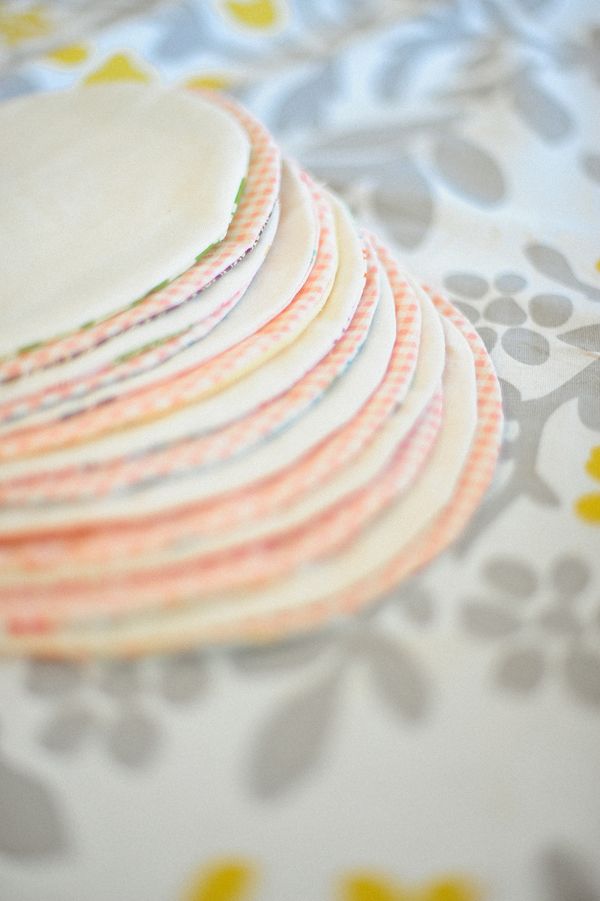
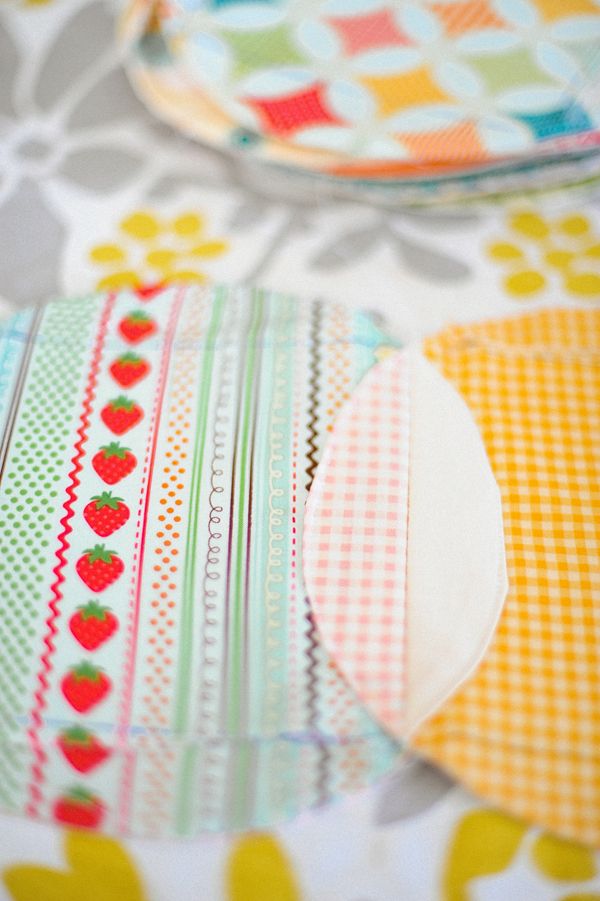
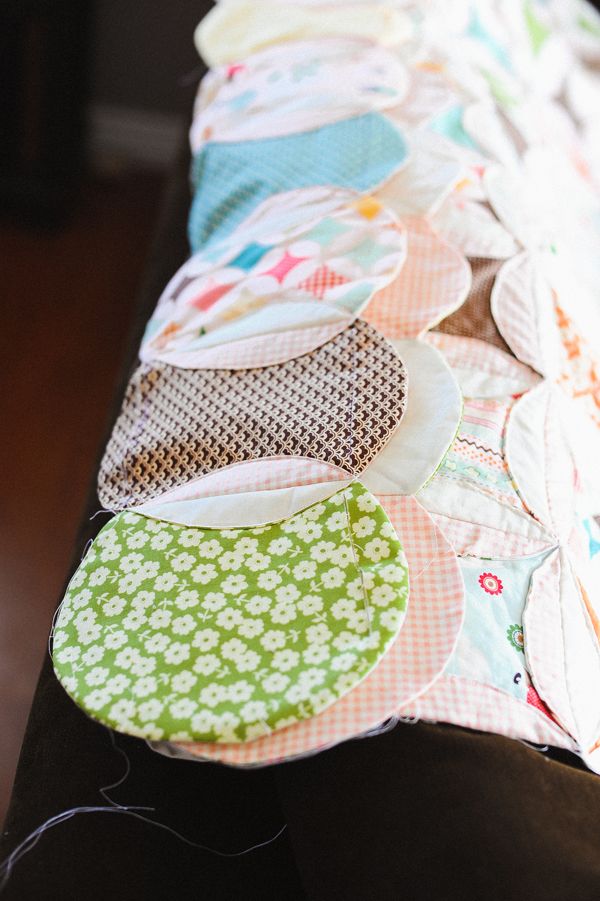
After ironing all of those crazy circles, it was time to stack them into their respective cool and warm stacks.
(Did you know that I am basically colorblind? Well, it is no easy feat for me to make stacks of different colors, but I succeeded!)
After ironing all of those crazy circles, it was time to stack them into their respective cool and warm stacks.
(Did you know that I am basically colorblind? Well, it is no easy feat for me to make stacks of different colors, but I succeeded!)
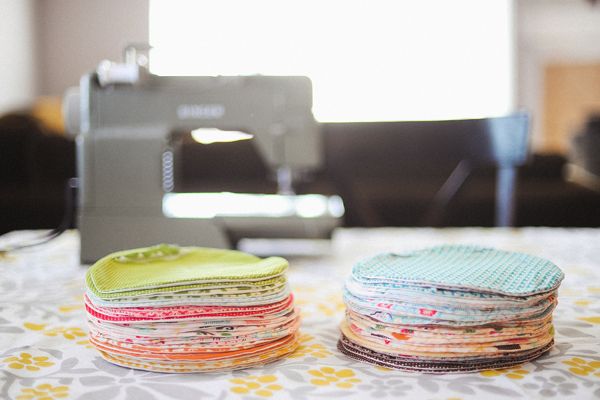
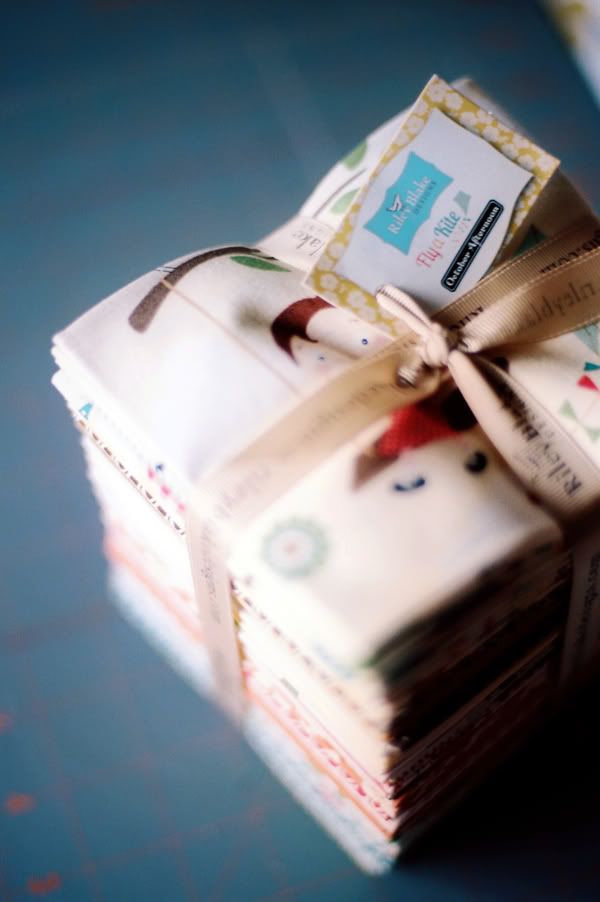
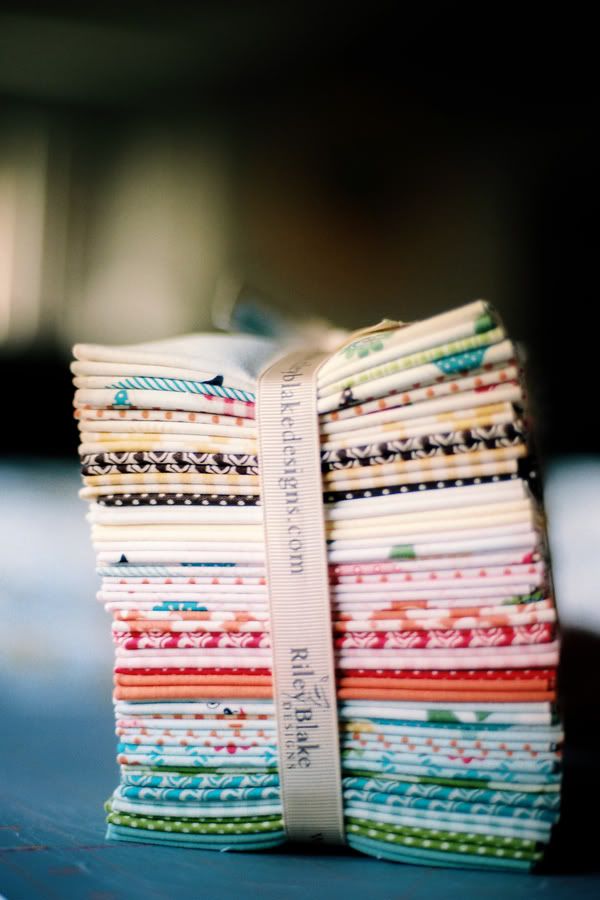
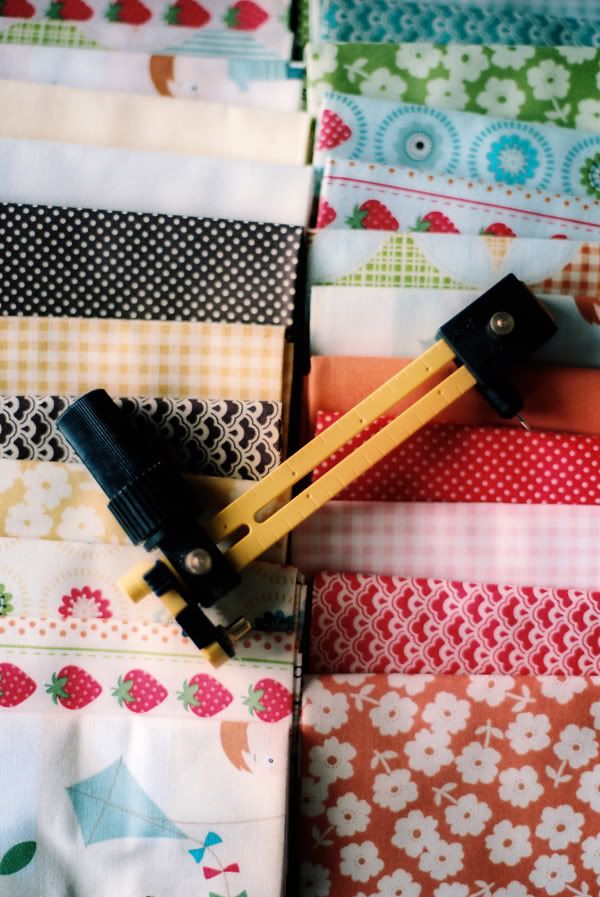
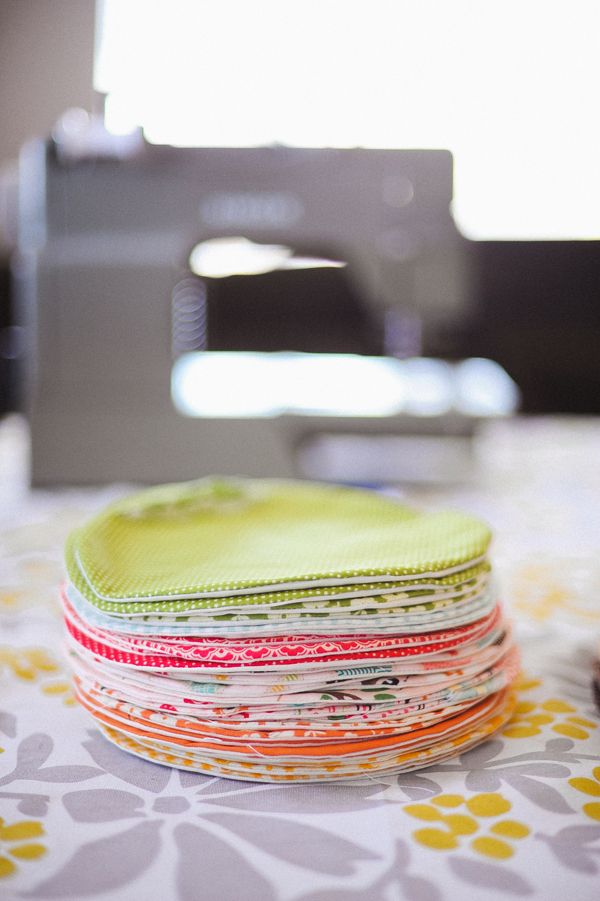
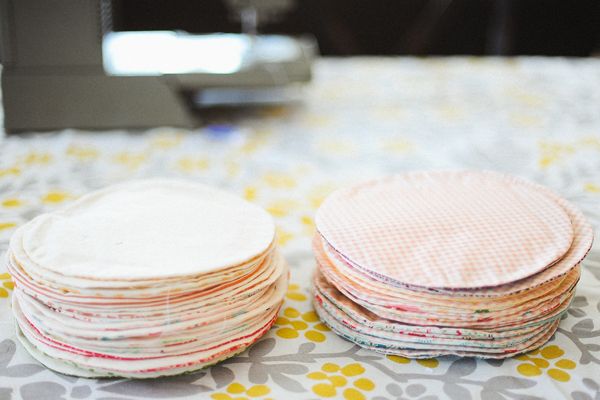
My "warm" stack:
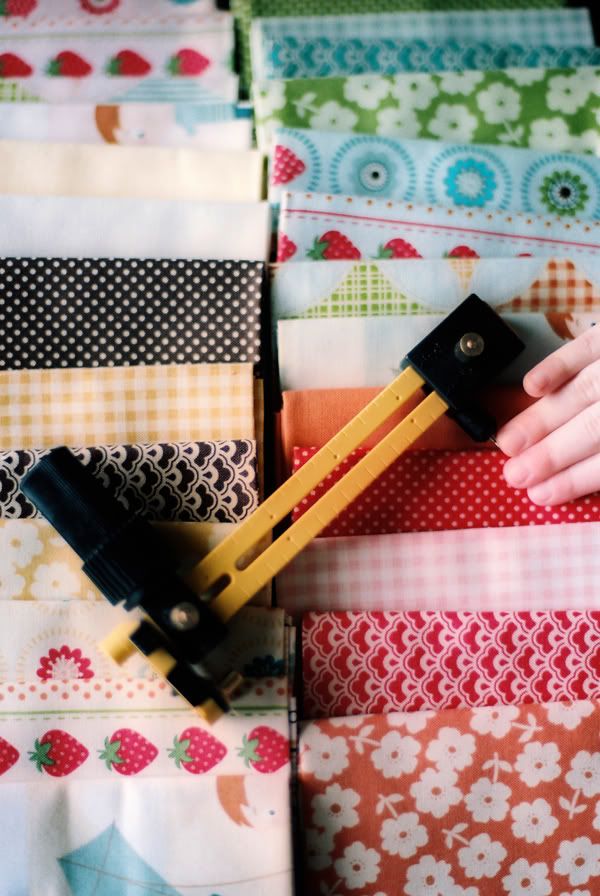
My "cool" stack:
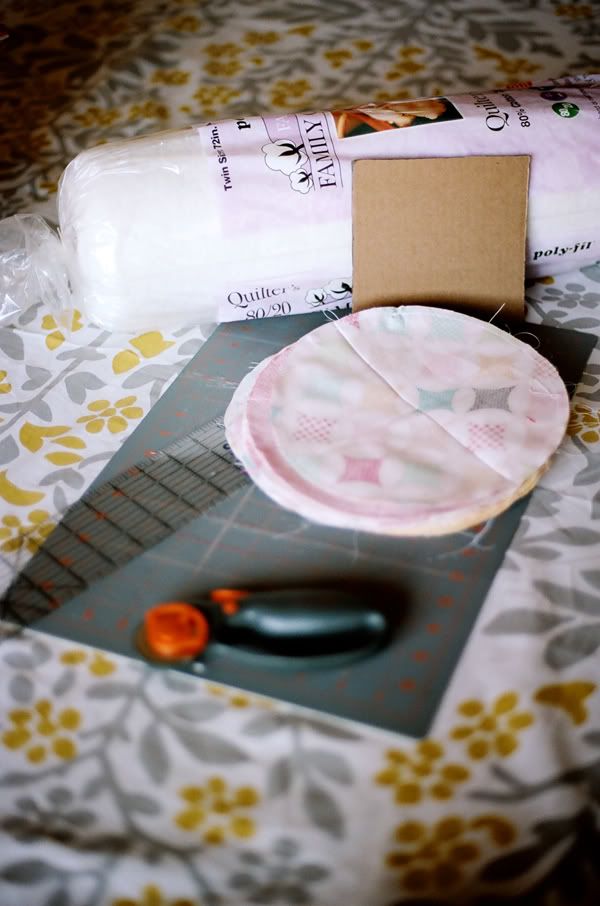
Each stack had a different backing. The warm stack had a cream backing, while the cool stack had a pink gingham stack. I LOVE Riley Blake for this reason. Great core colors and fabrics. I love going a little "Gingham Style" too.
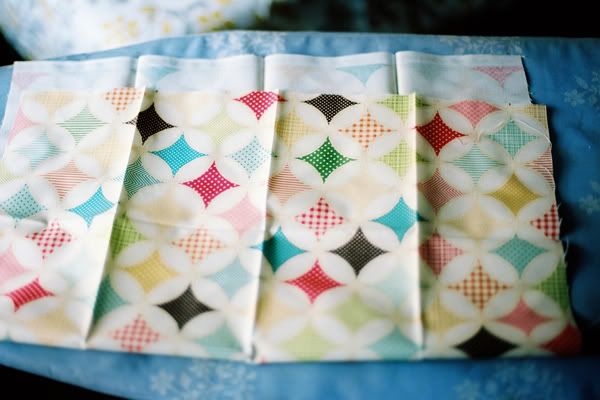
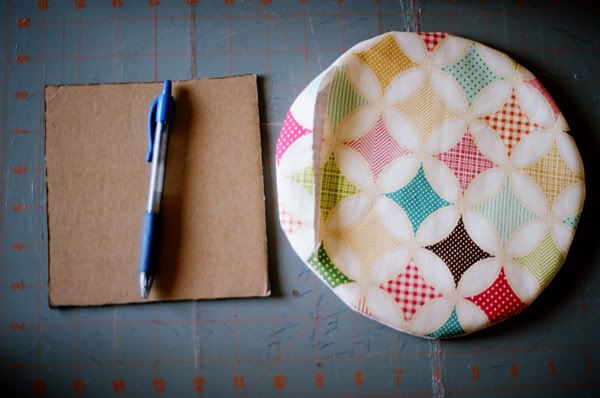
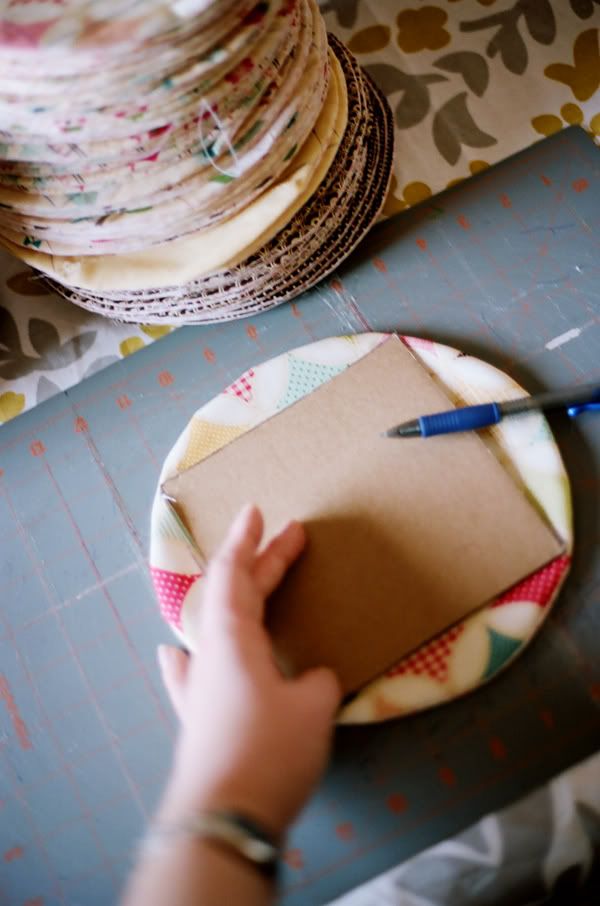
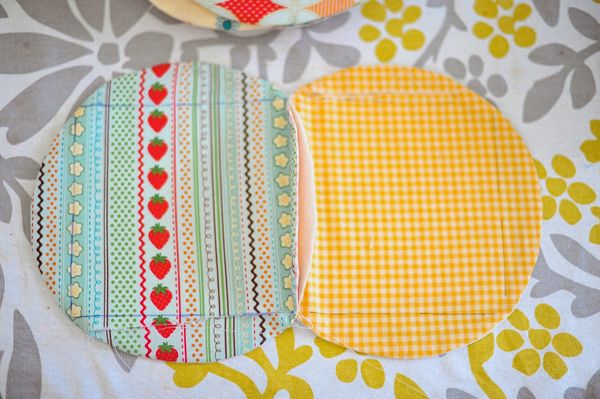
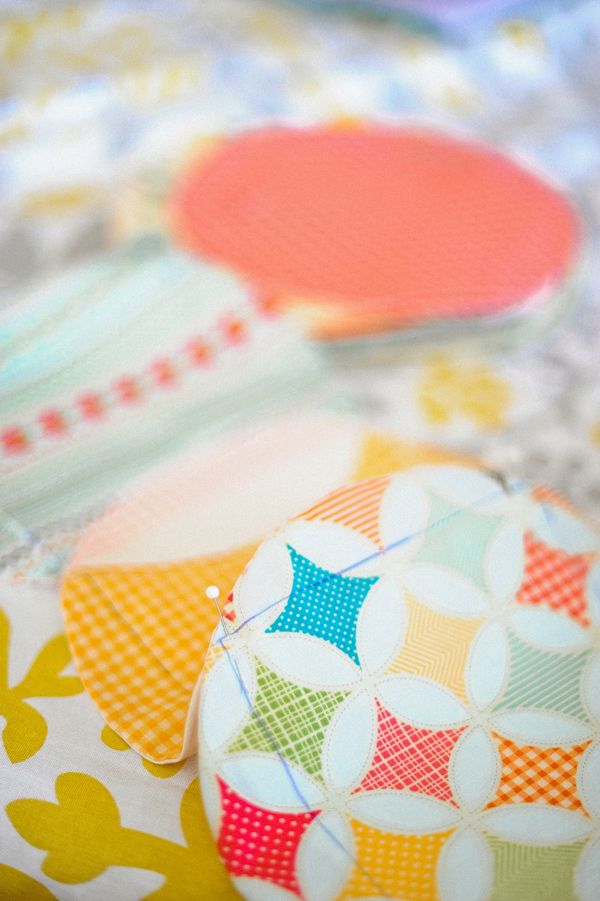
Now for the tough part, choosing alternating warm and cool fabrics and laying them out so that none of the same fabric touches on the finished quilt. Whoosh. My least favorite part of quilting. So. Stressful.
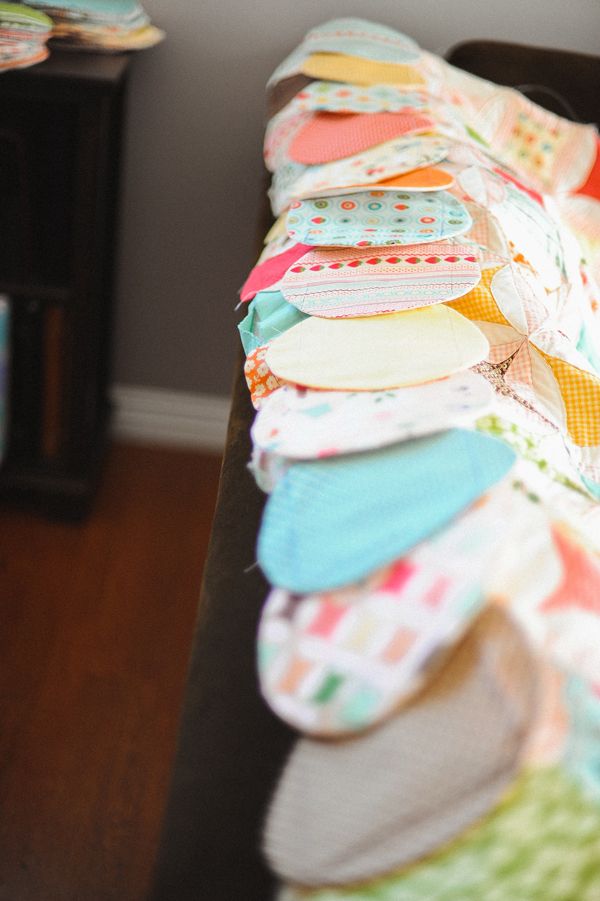
Once I had the fabrics laid out, I stacked them back up in their alternating warm and cool circles. All the while reminding myself to keep them straight!
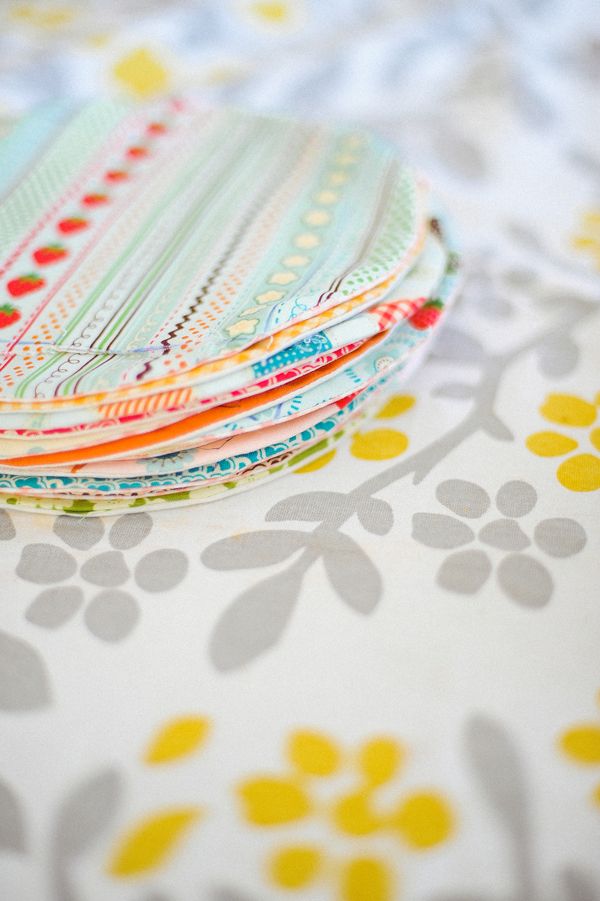
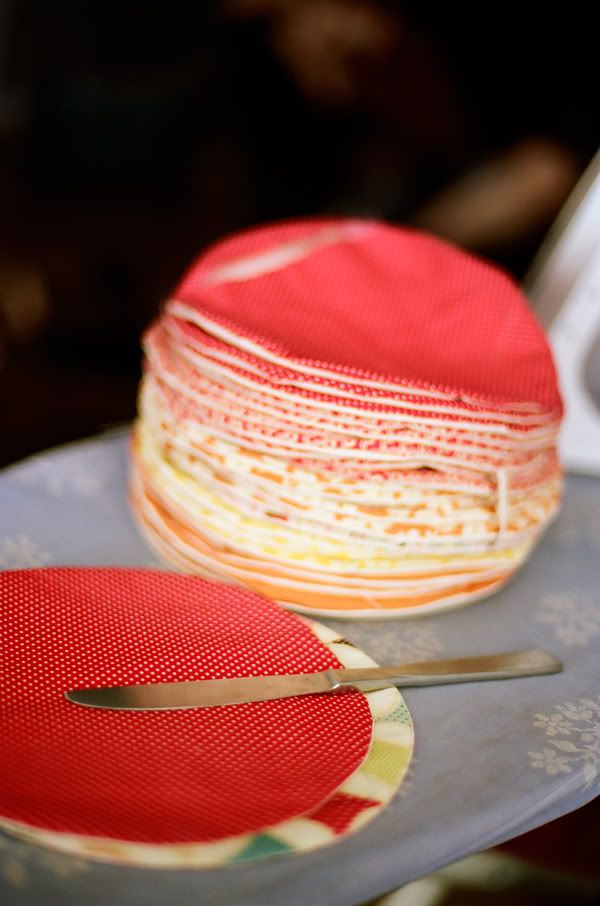
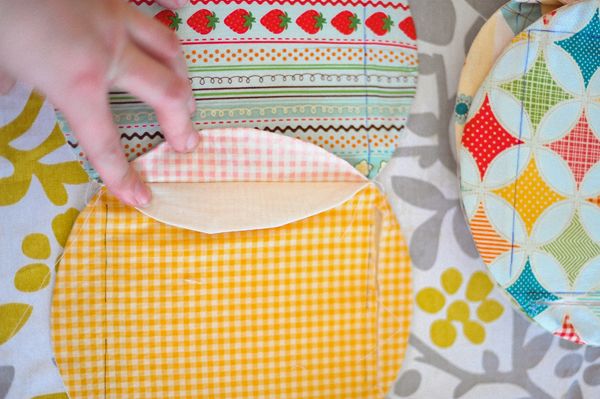
Here is the underside of my stack:
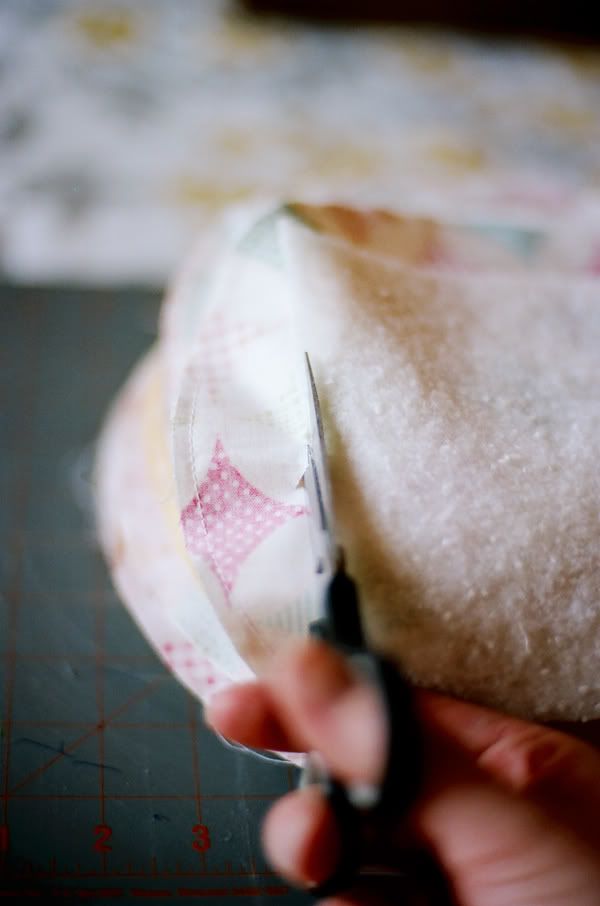
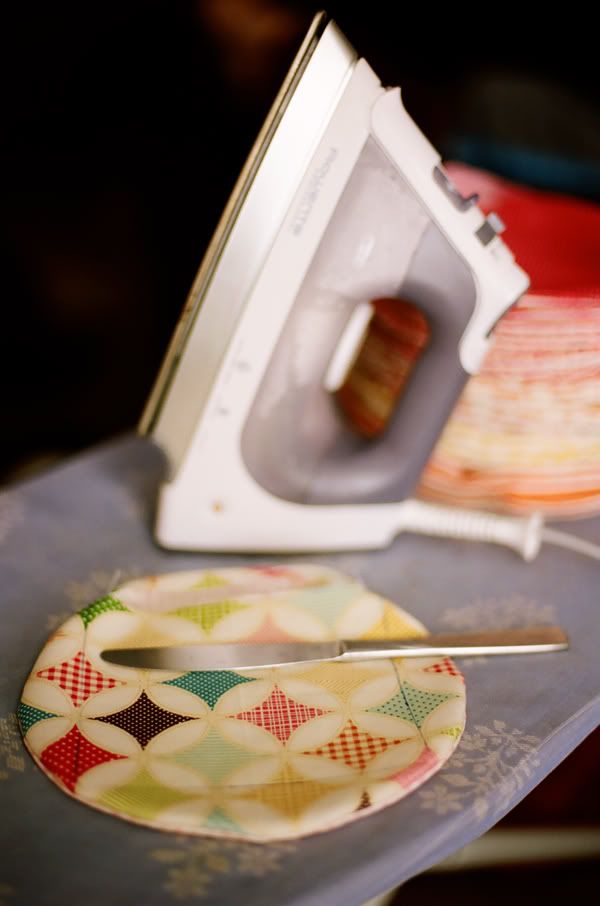
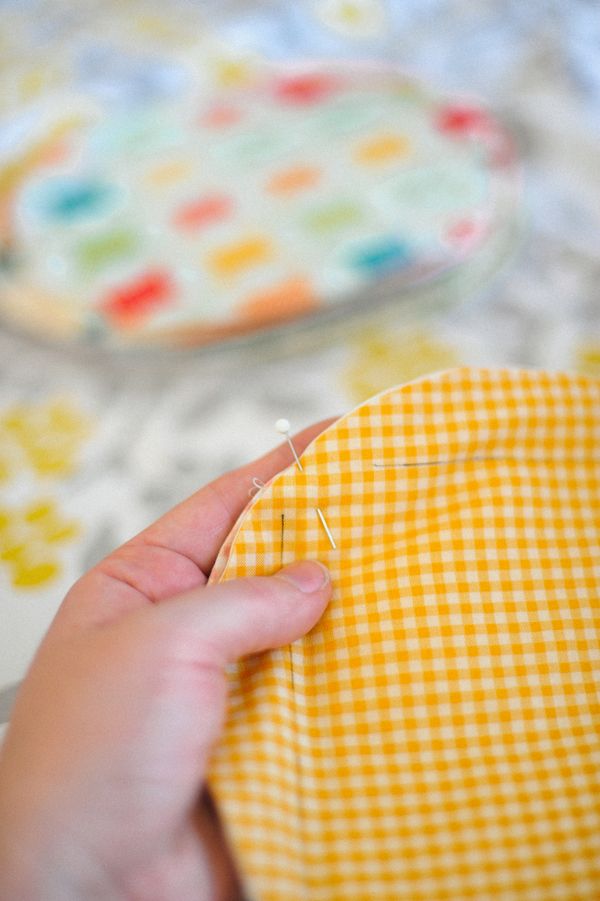
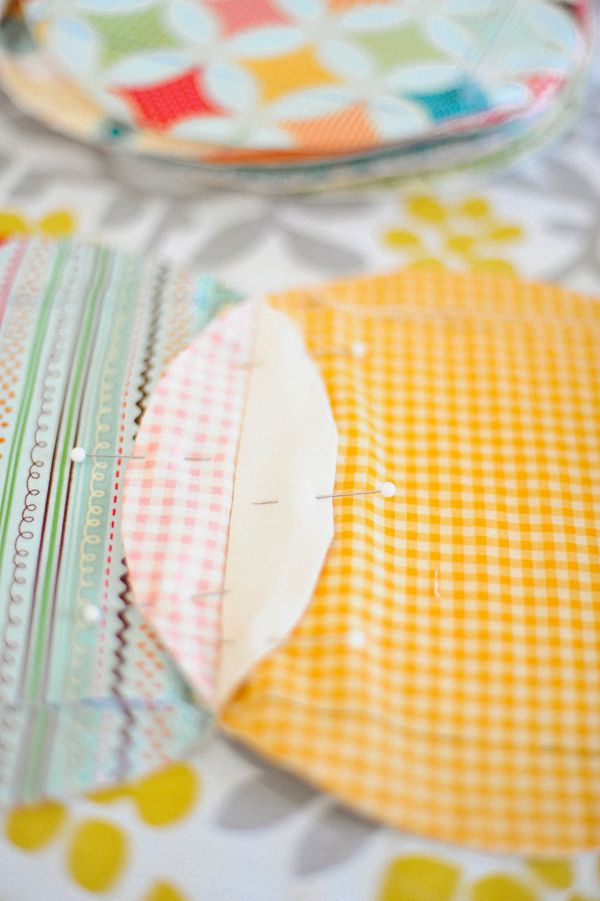
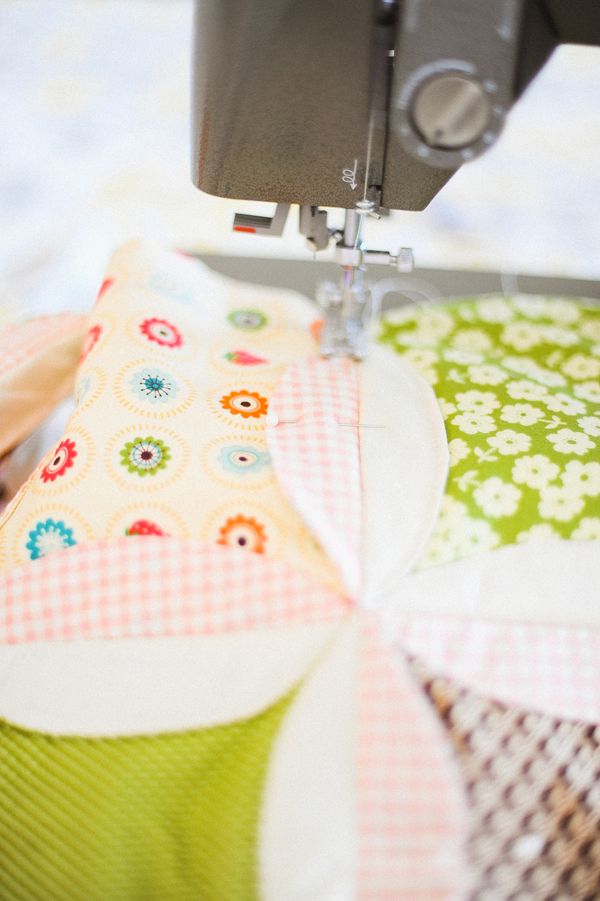
It is pinning time, and I am not talking about Pinterest! Pinning all four corners of the square is a MUST. These circles are thick and like to shift under the presser foot. Pin the backside of the circles together.
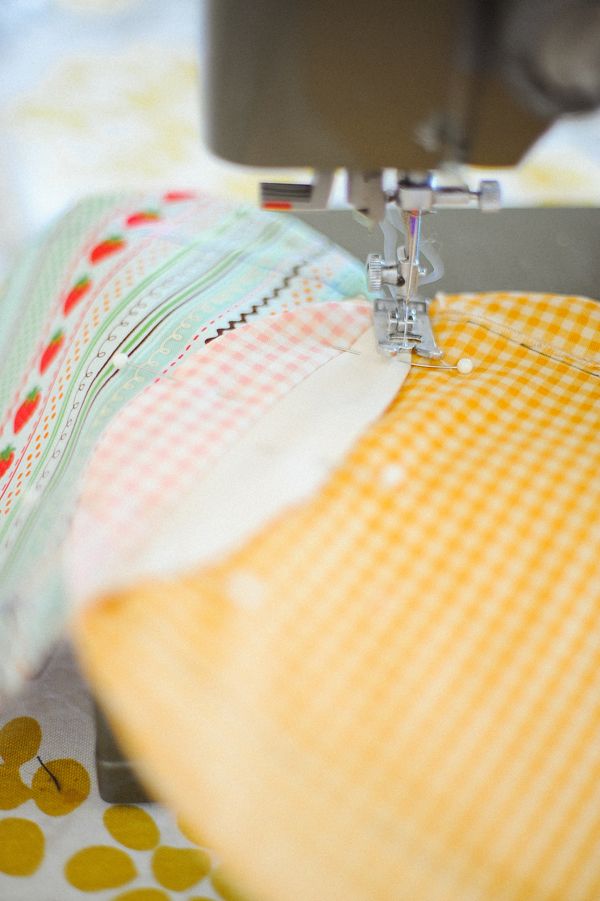
Sew along one line. (LOVE that this quilt let's you draw in sewing lines. While this quilt can be tedious, almost anyone can make one!)
Presto! Our first two circles are sewn together.
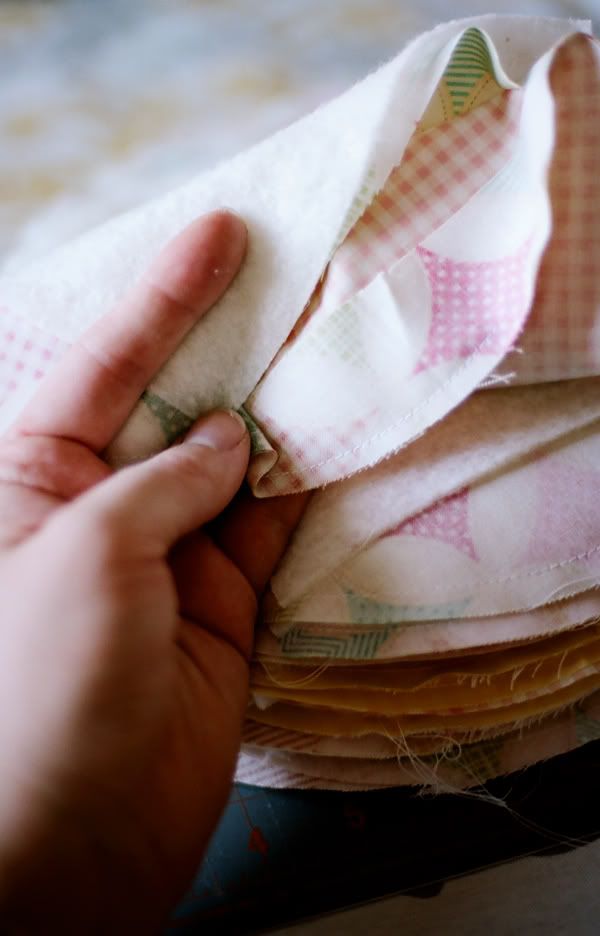
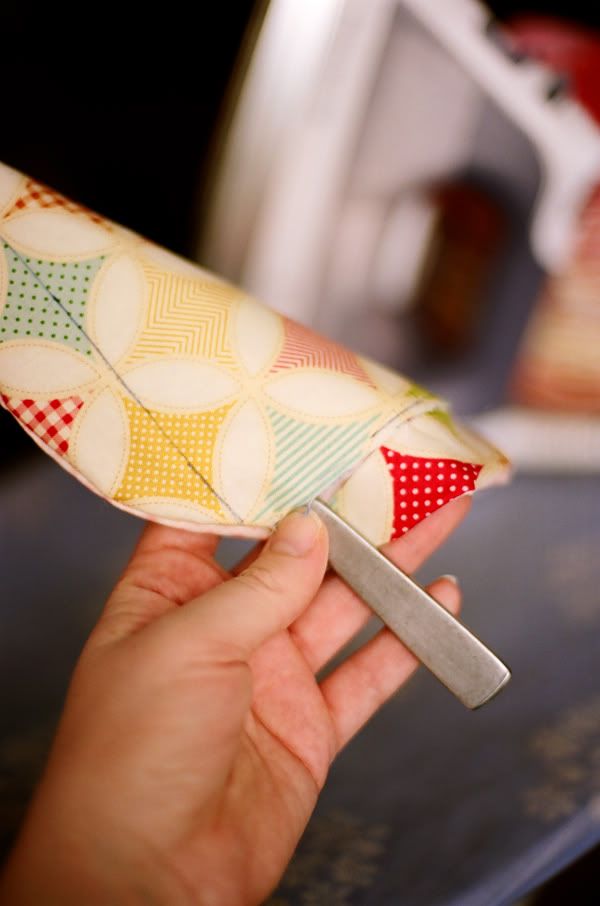
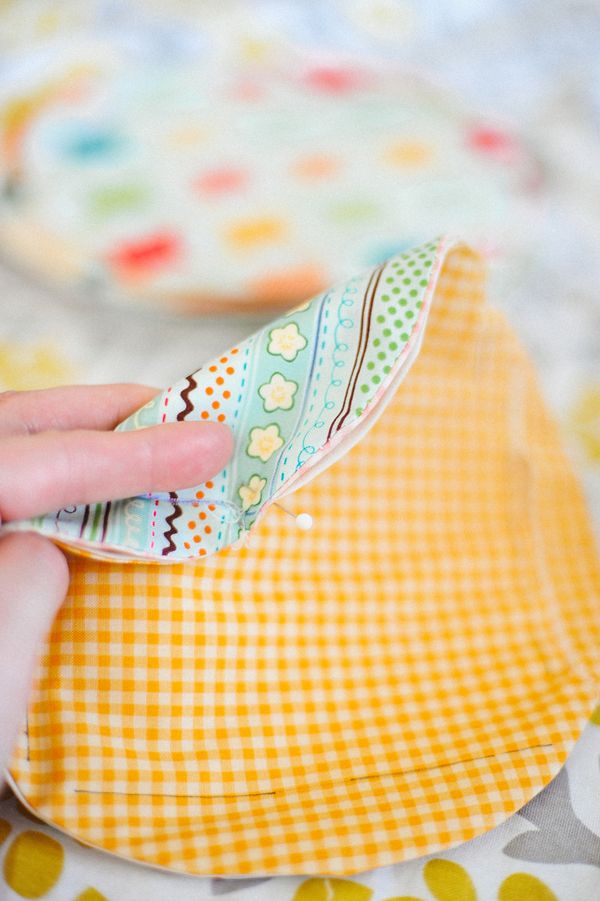
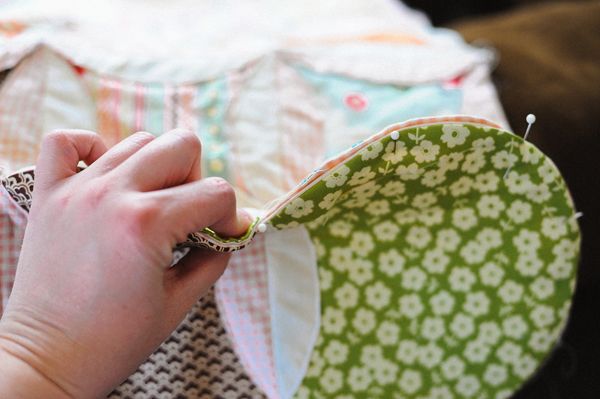
Open out the backside circle portion.
Pin. Again, I repeat, PIN! The bulky fabric will shift.
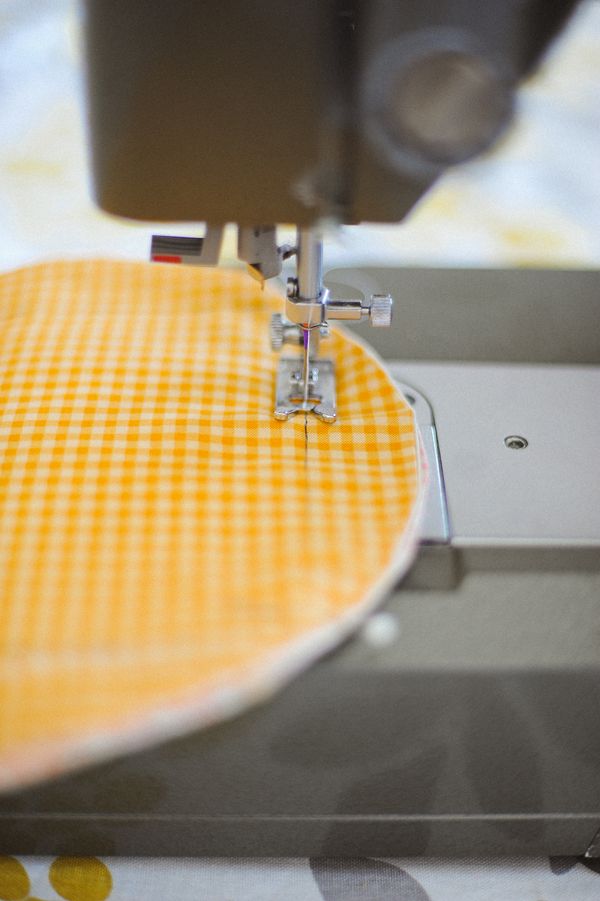
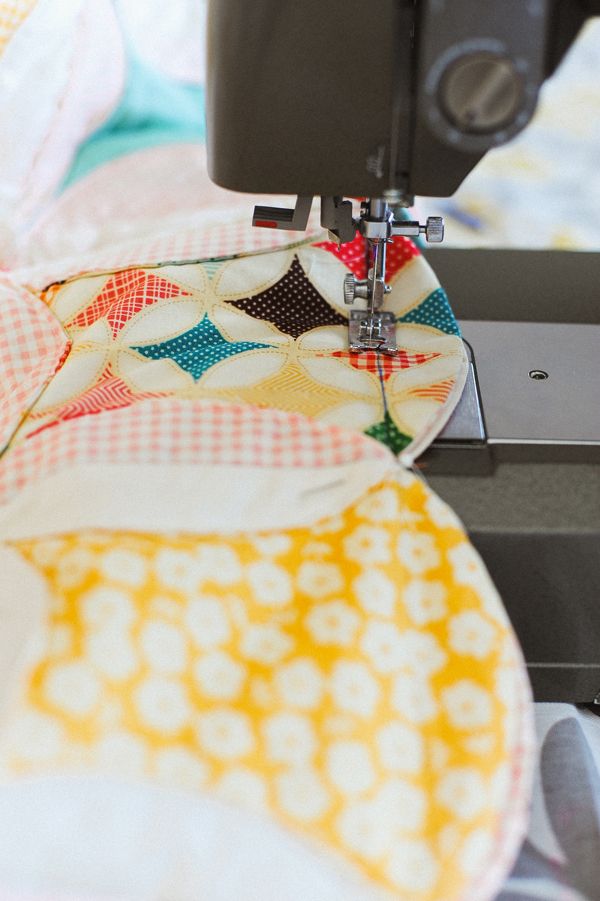
Then sew along the rounded edges.
As you can see, I am not the world's most perfect quilter and I will NEVER win an award or a blue ribbon for my straight lines and beautifully matching edges...but that is okay. I gave up being perfect a long time ago.
Continue along, sewing the rest of the strip in the same manner.
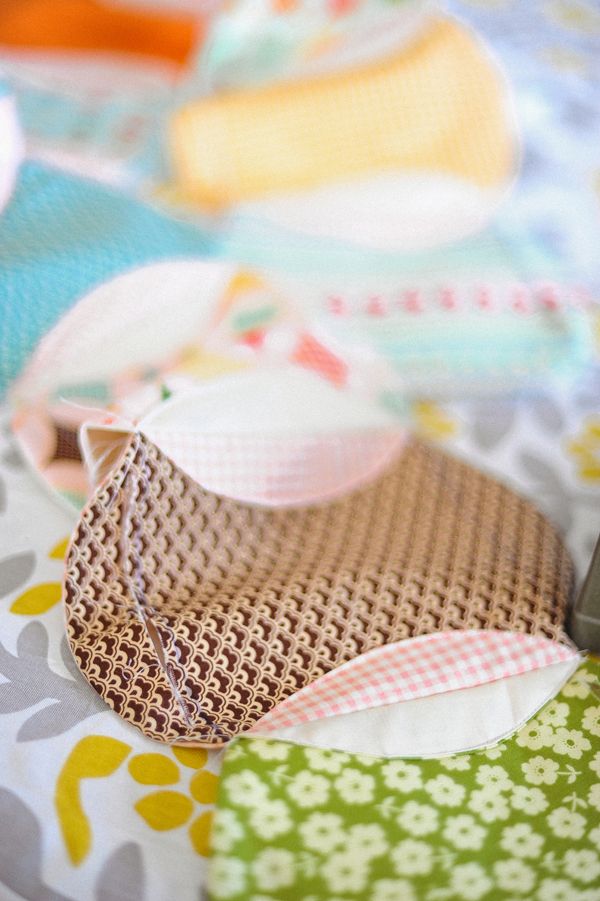
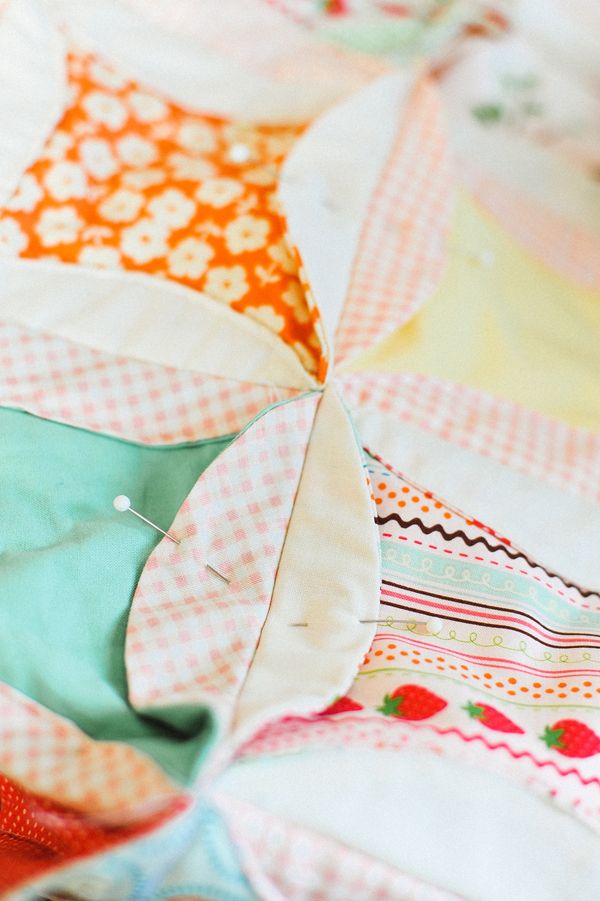
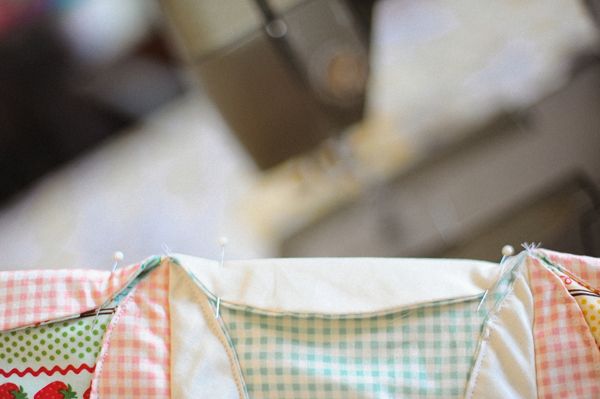
Once the strip is finished, lay it out on the previous strip, backsides facing one another.
Then? Pinny McPinalot. Pin. Pin. Pin.
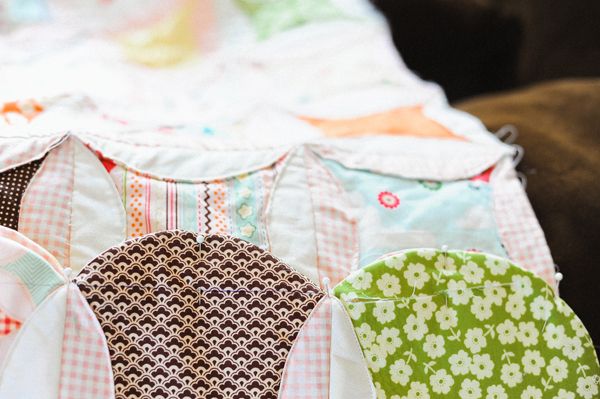
Then? Pin some more!
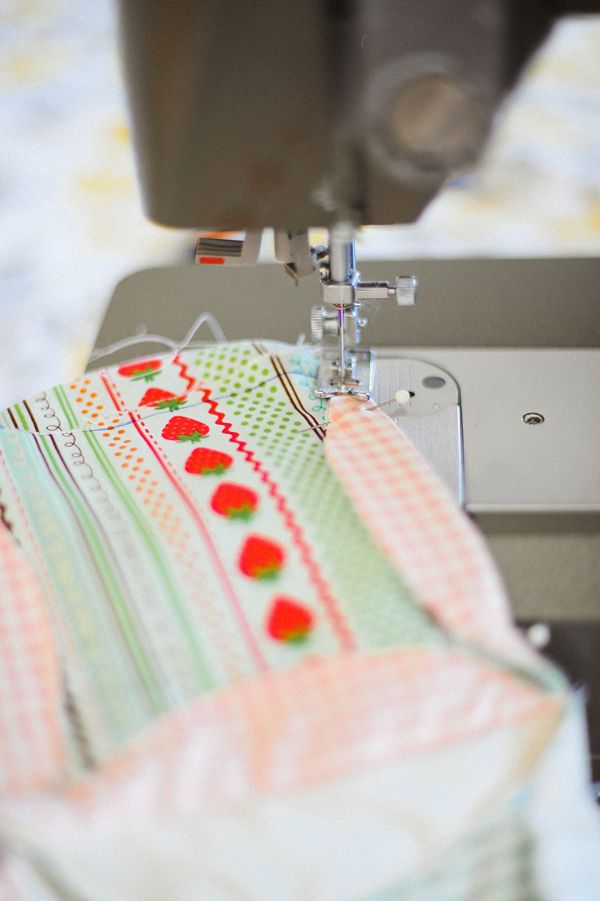
Now, sew along the long seam, being very careful to make sure your seam sewn between the circle edges. You don't want to end up with any holes when you are done.
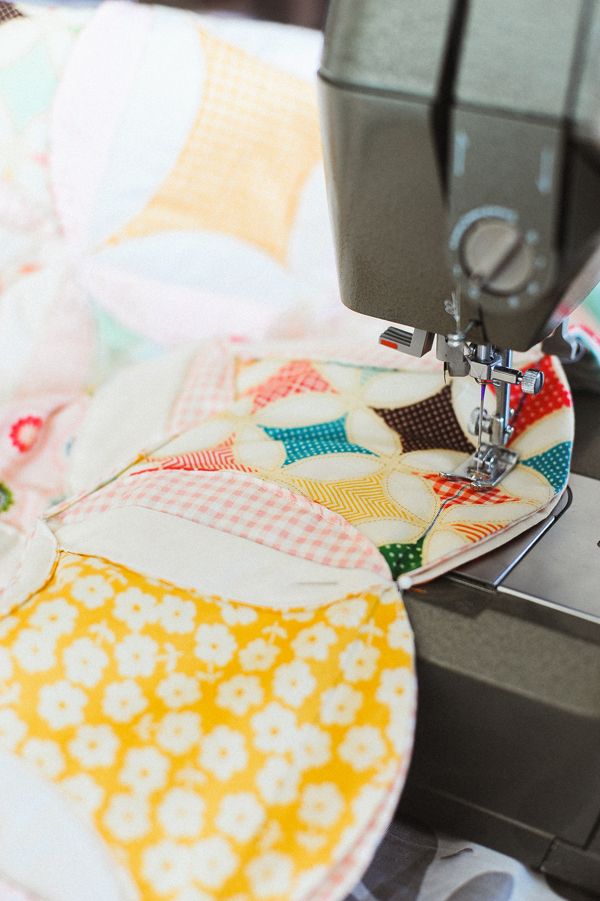
When the long seam is sewn, open out the backside portions of the circles and pin, pin, pin again.
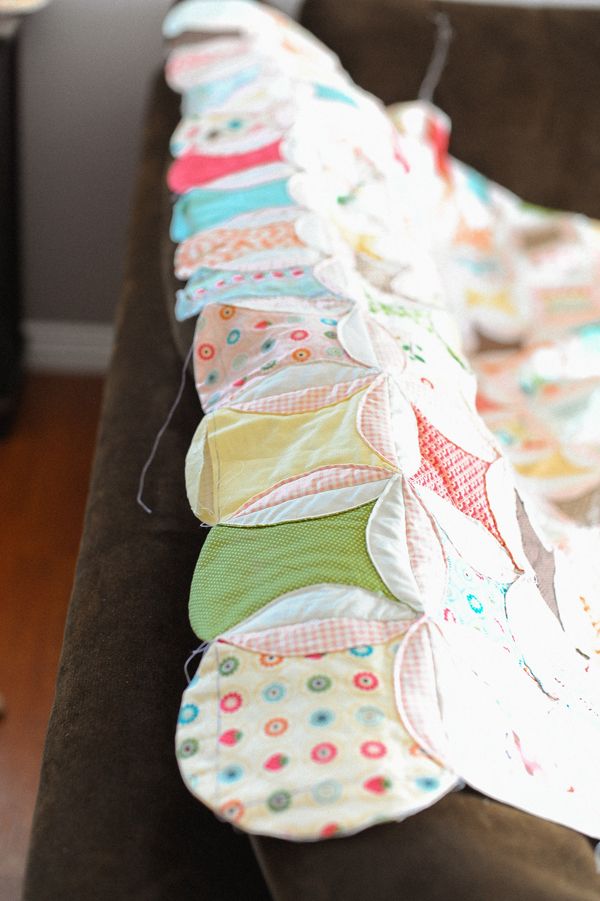
Then sew along the curved lines. This part may make you wish for death, or Hulk strength arms. Either way, repeat to yourself, "I can do this!". The quilt gets VERY heavy as you go on, and very bulky. If you do it right though, you can keep most of the bulk on your sewing table.
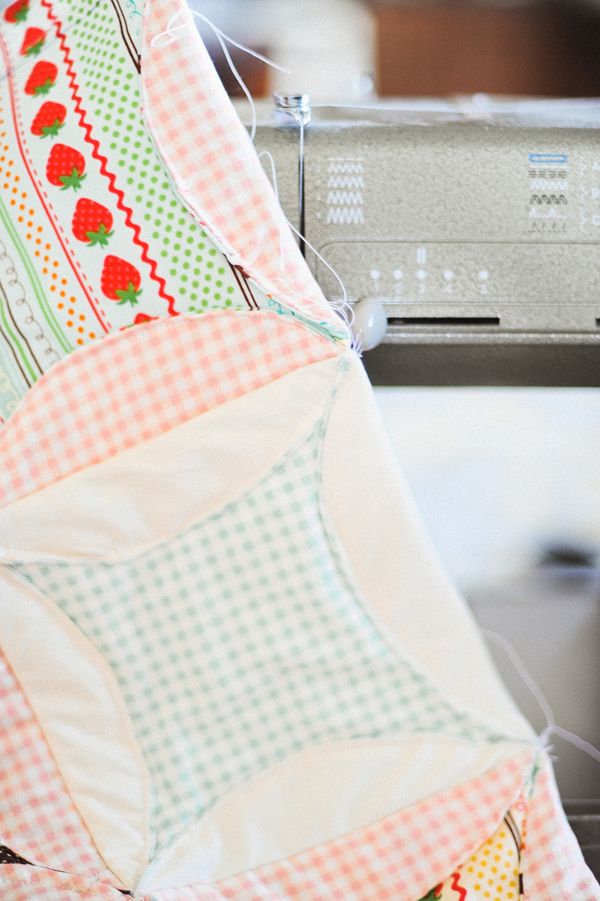
I prefer to sew these curves in a "snake like" manner, or an S shape going down the line. This makes it so you can keep the less bulky end of your quilt under your machine. I wish I had a better way to explain this but I don't.
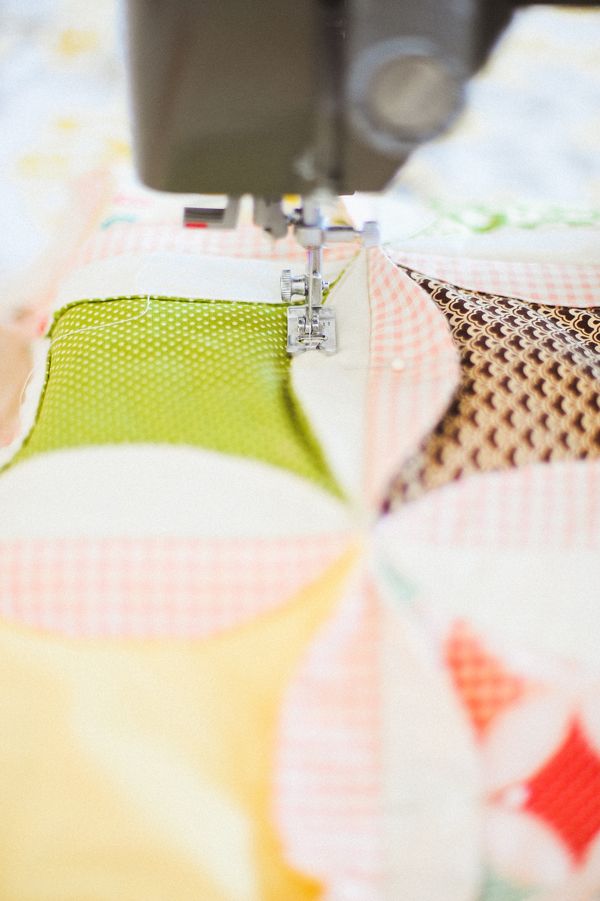
I sew one line of curves, and then go back to the top of the curves and sew the rest of the round edges.
This quilt is SO fun to sew because you get to watch it come alive one row at a time, you don't have to wait until you are all finished to see the end result.

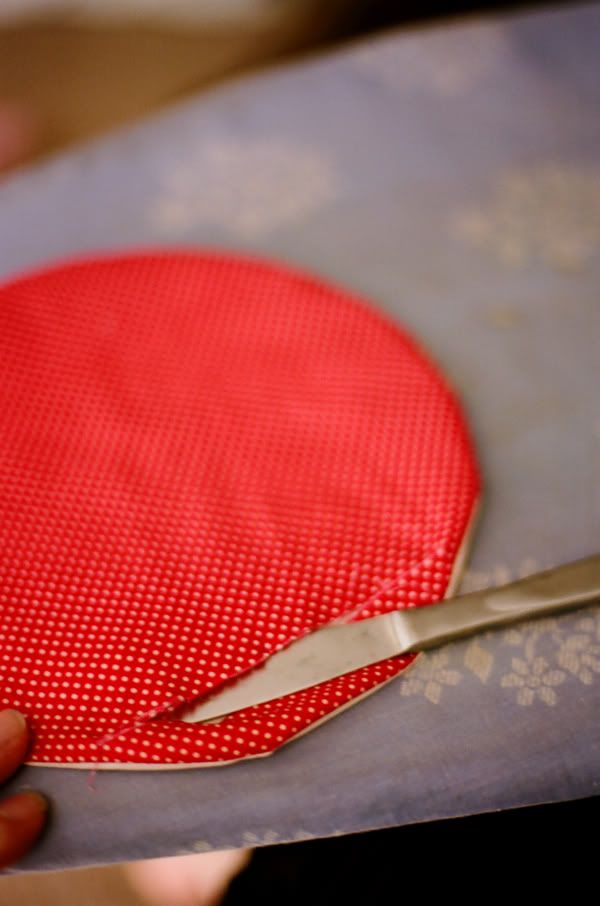
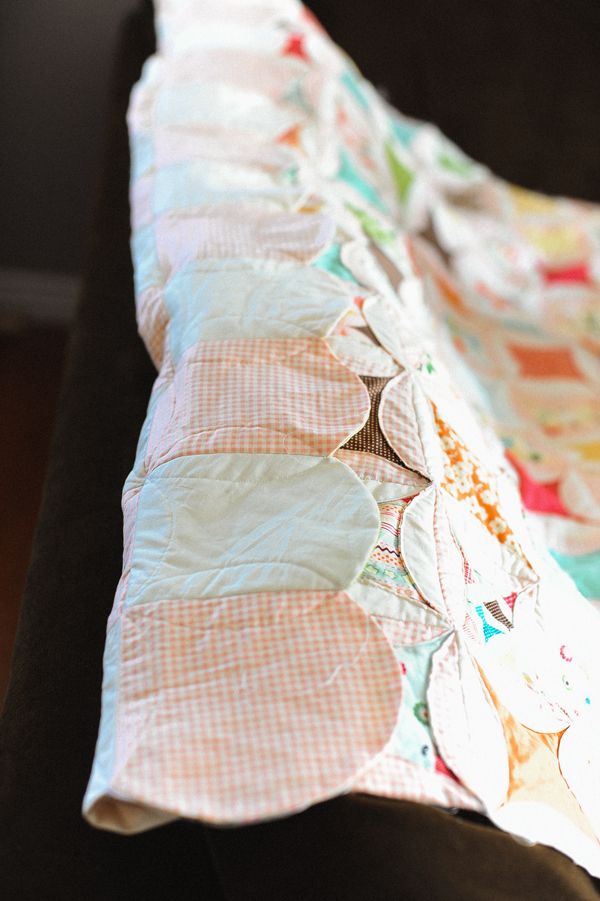
Now is the time to finish your edges. You could choose to keep them "scalloped" just make sure your edge pieces do not have any pen marks or cut marks from turning the circles inside out.
I prefer my edges finished.
I prefer my edges finished.

Turn over your edges and pin.
Finish sewing the curves.
Here is the finished edging. Clip threads and you are done!
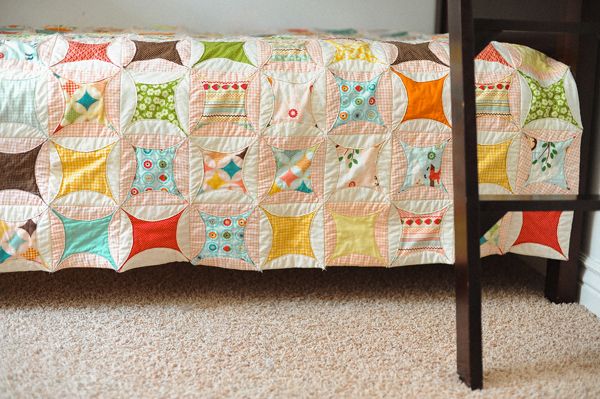
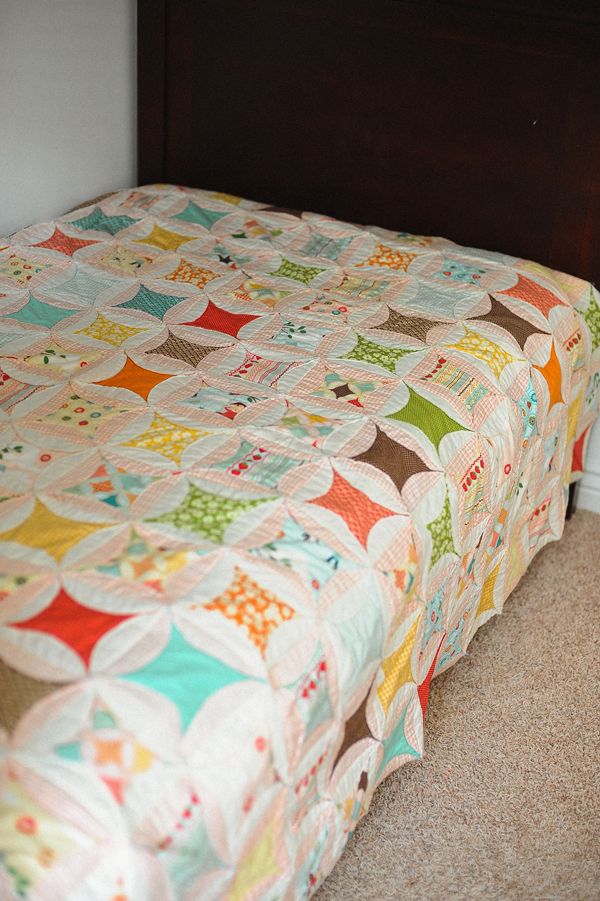
Here is the final product on the bed!
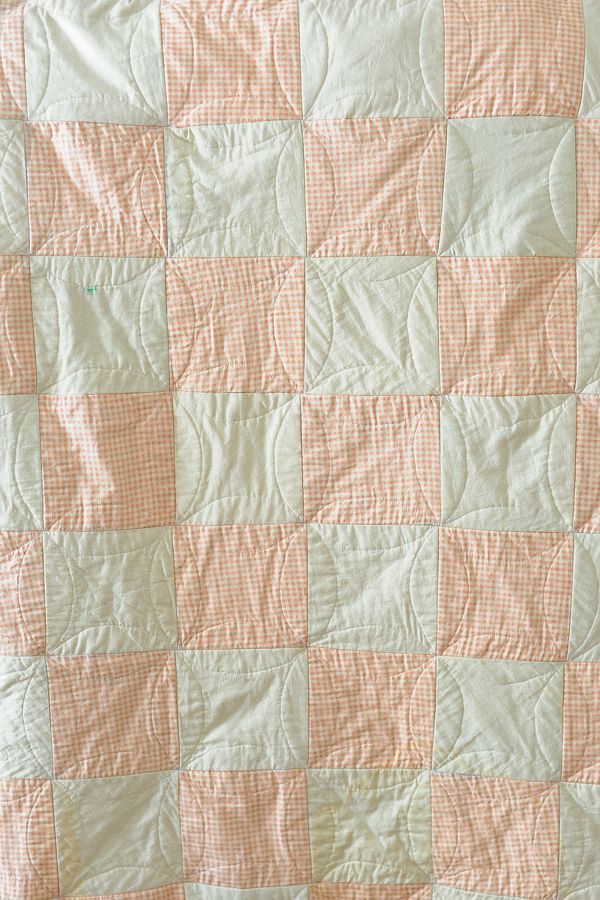
I love the back almost as much as the front! You can see the circle quilting through the back. Gah. ADORE!
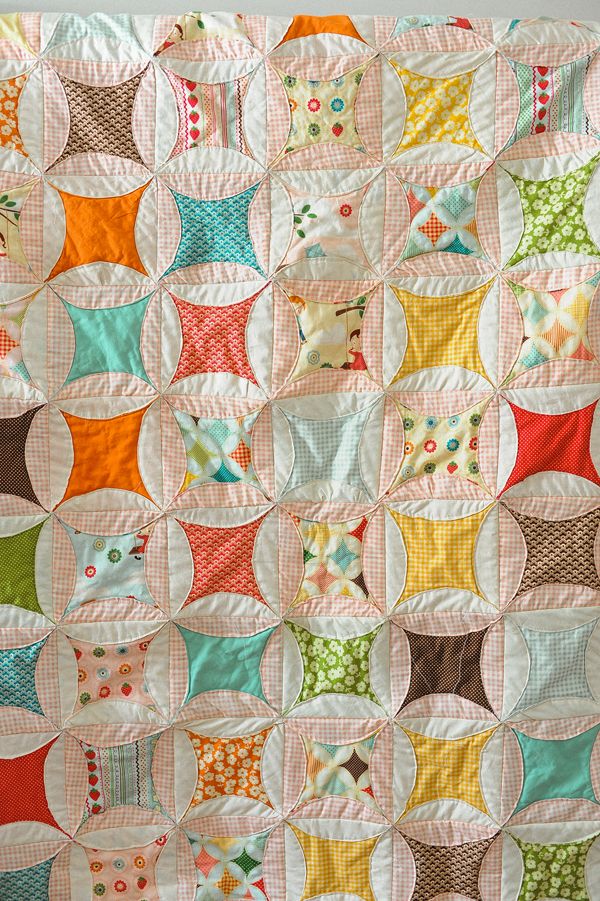
Finally, the front! This quilt is so bright and fun and puts a smile on my face every time I see it!
This quilt ended up being king size, about 82"x82" and weighs over 10.5 lbs. It. Is. Heavy...and cost a lot to make. Whoosh. I am certain I will not be making another anytime soon.
What am I working on next? Well, another quilt that involves circles, robots, orange and teal. Some of my favorite things. I will share when I am done.
xoxo
What am I working on next? Well, another quilt that involves circles, robots, orange and teal. Some of my favorite things. I will share when I am done.
xoxo