
Earlier this year, for approximately 30 seconds there was talk of me serving in my ward as a Nursery (teaching the 18 month old to 3 year old children in church) leader. We moved into a new ward and a new building and everyone was being shuffled around. The Nursery had nothing, and my dear friend Angelica was in charge to put it all together and get it running smoothly. I like to call it "The Two Hour Daycare". I won't get into why I call it that, but the ladies that serve in the Nursery calling are ANGELS.
In our previous ward, we were in a bigger building that had a hallway that ran around the entire perimeter of the building. This was nice for taking the busy bodies on walks and also killed about 15 minutes of Nursery. The old building also had this magnificent preschool walking rope. Except, get this, it was not a rope! It was a snake! It was so so so adorable that when we moved buildings we begged to take it with us. Alas, no dice, so I spoke with Angelica and it is no secret that I love to sew, so I set out to recreate one for our Nursery.
In our previous ward, we were in a bigger building that had a hallway that ran around the entire perimeter of the building. This was nice for taking the busy bodies on walks and also killed about 15 minutes of Nursery. The old building also had this magnificent preschool walking rope. Except, get this, it was not a rope! It was a snake! It was so so so adorable that when we moved buildings we begged to take it with us. Alas, no dice, so I spoke with Angelica and it is no secret that I love to sew, so I set out to recreate one for our Nursery.
It cost me $20 and literally 2 hours of my time. That was it.
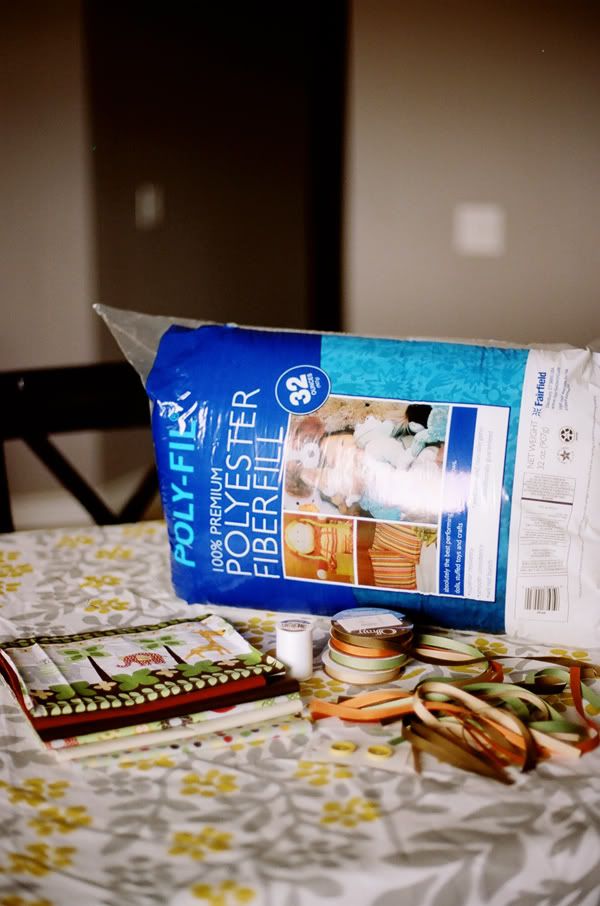
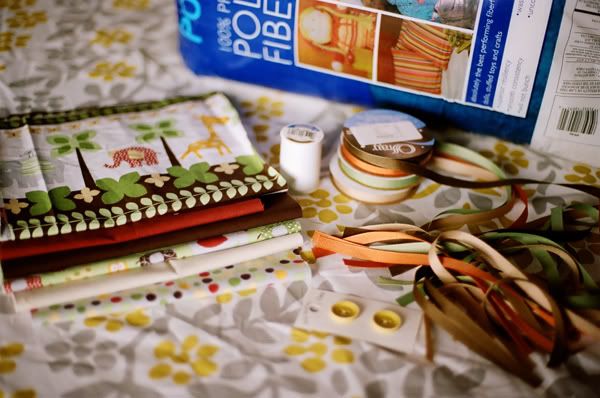
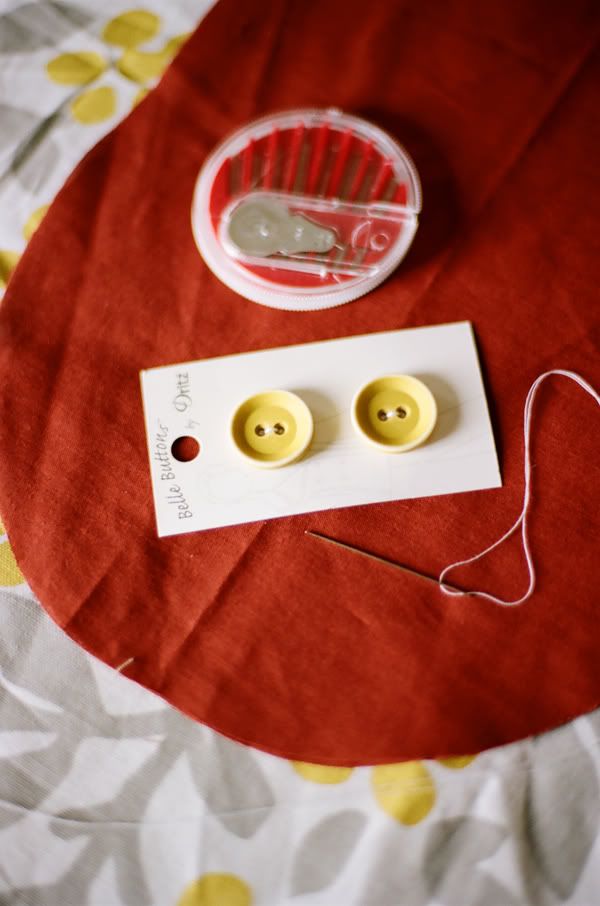
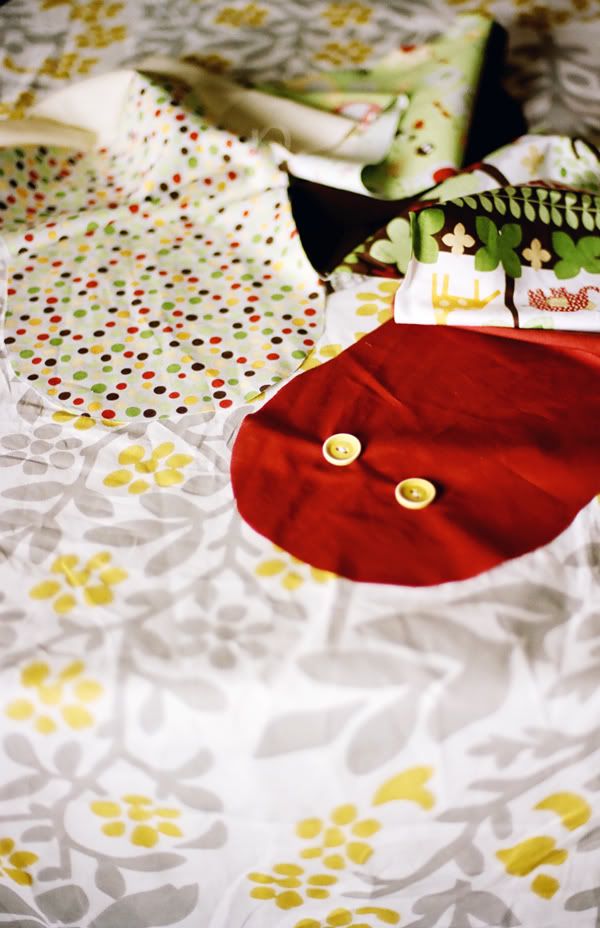
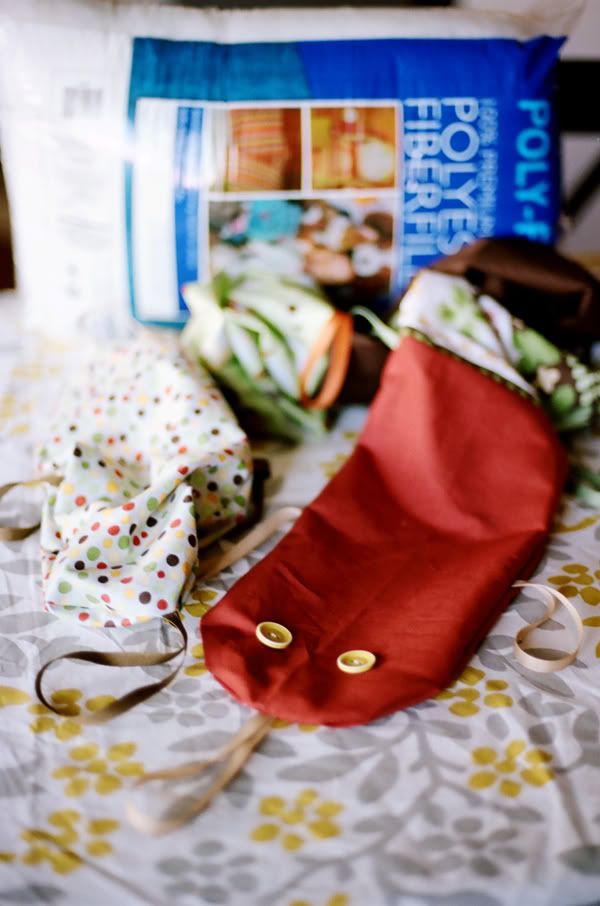
I bought six fat quarters which were on sale for cheap, a spool of coordinating thread, four spools of coordinating ribbon, two buttons for eyes, and a bag of fiberfill that I bought for 50% off by watching for sales. In reality, I probably needed one and a half bags, but we had an old pillow that was so hard no one would sleep on it, so we cut it up and finished stuffing the snake with that.
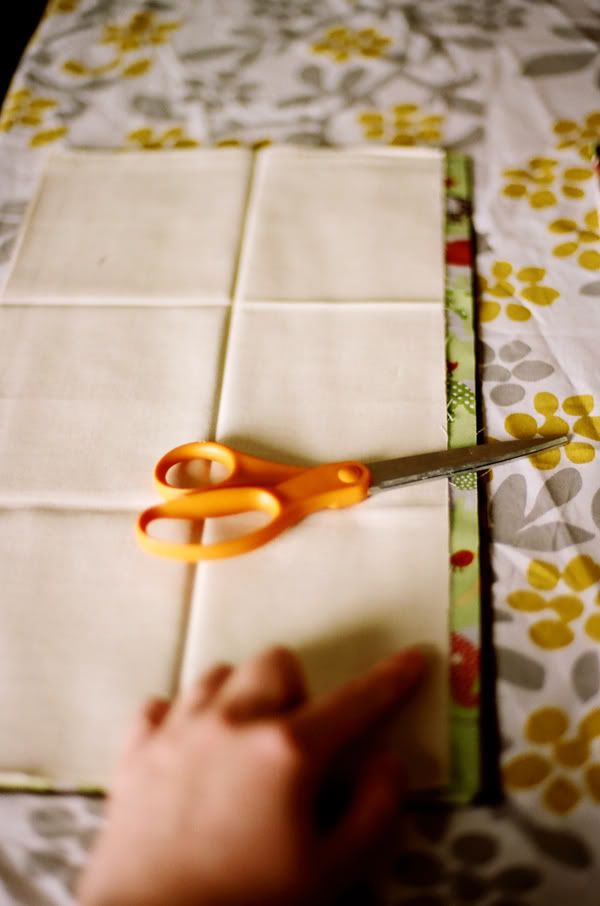
I then cut each fat quarter into two equal long rectangles, as you can see below:
I then arranged my fabrics in the order I wanted them in, and decided which would be the head and tail of the snake. You can see I have two of each color rectangle, one for the top of the snake and one for the bottom of the snake.

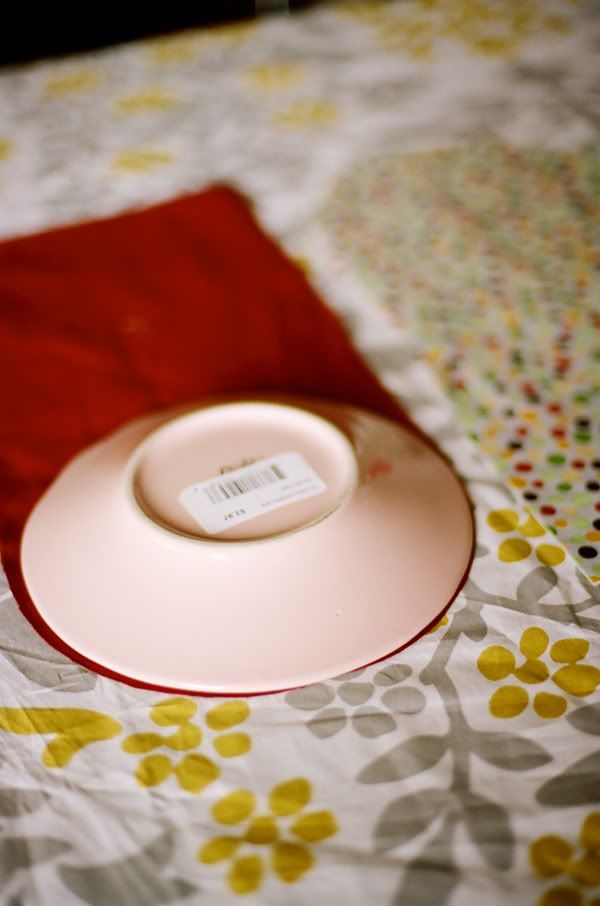
Then I grabbed one of my photography plates (see the fancy price tag
still in tact? AWESOME) and used it as a template for the head of the
snake. I wanted it to be rounded. I traced the pattern and then cut
around it. I did the same for the tail portion as well.
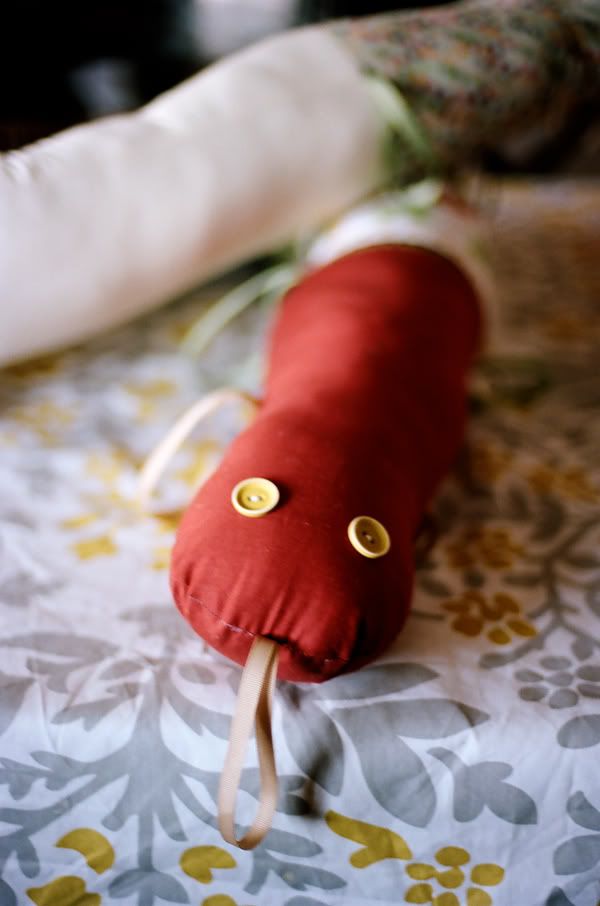
Next I took those two buttons and hand sewed them into place near the front of the head.
Mad skillz I tell you. I also should have taken the time to iron my fabric sheesh.

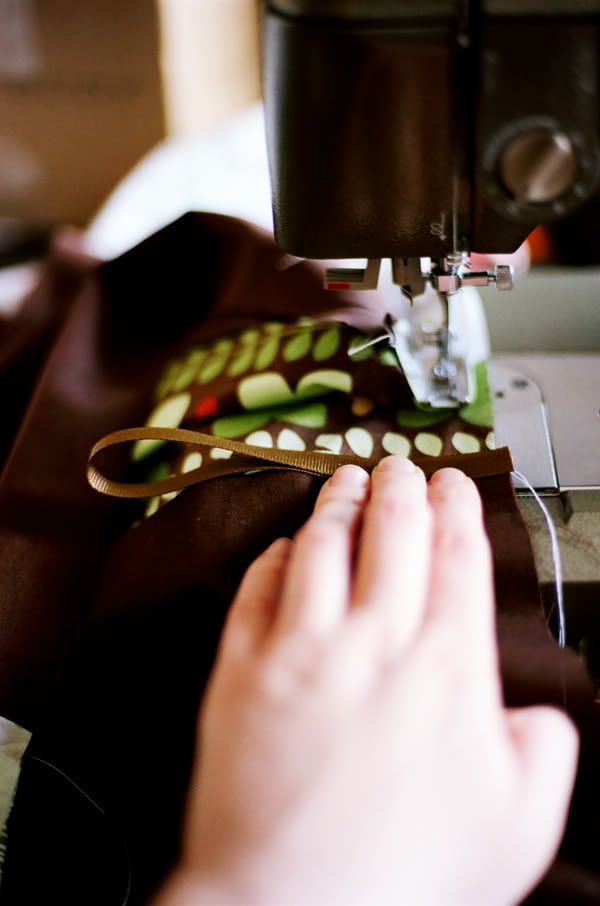
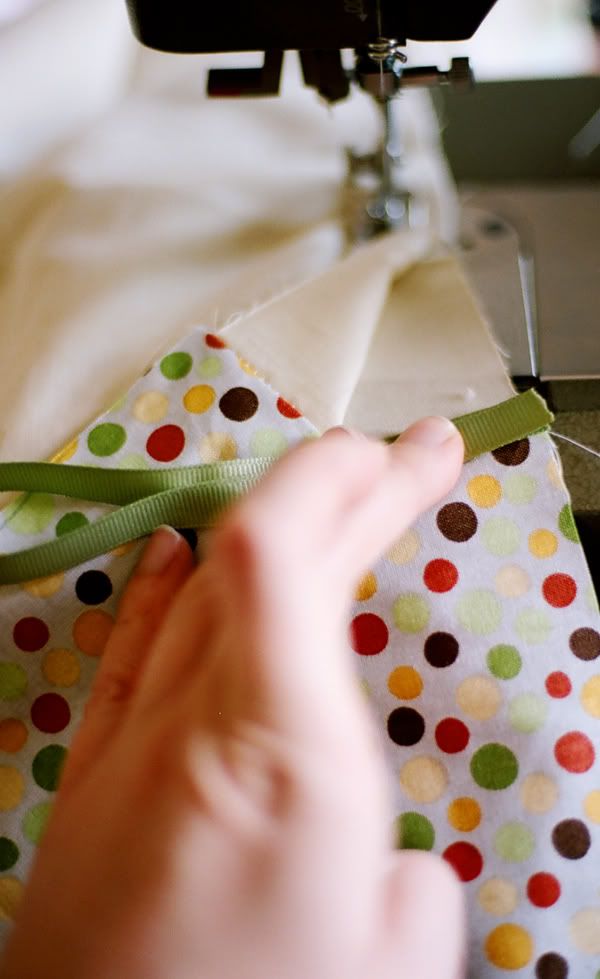
I then sewed my fabric pieces together, creating a pattern and then recreating the same pattern for the bottom piece of the snake.
I then flipped the right sides of the snake pieces together top to bottom and pinned, pinned, pinned. Stopping to pin a piece of ribbon (handle) in place of a snake like tongue and then along every seam of the changing fabric colors. This snake can hold a lot of little hands. You can see below how the ribbon has to be sandwiched in between the right sides of the fabric. I made sure to back stitch these ribbons in place so that they would hold tight and avoid ripping later on.
I left a 12" opening on one side in order to fill the snake with fiberfill. Turn the fabric right side out and start stuffing.
I hand sewed the opening closed when I was all finished and voila.
The snake was a huge hit at home. Even Lindsey's little guy helped us try him out. Unfortunately our new ward building is a lot smaller than our old one, and it is always so congested during meetings that it is hard to take the littles on as many walks. At least he is there to be snuggled on if needed.
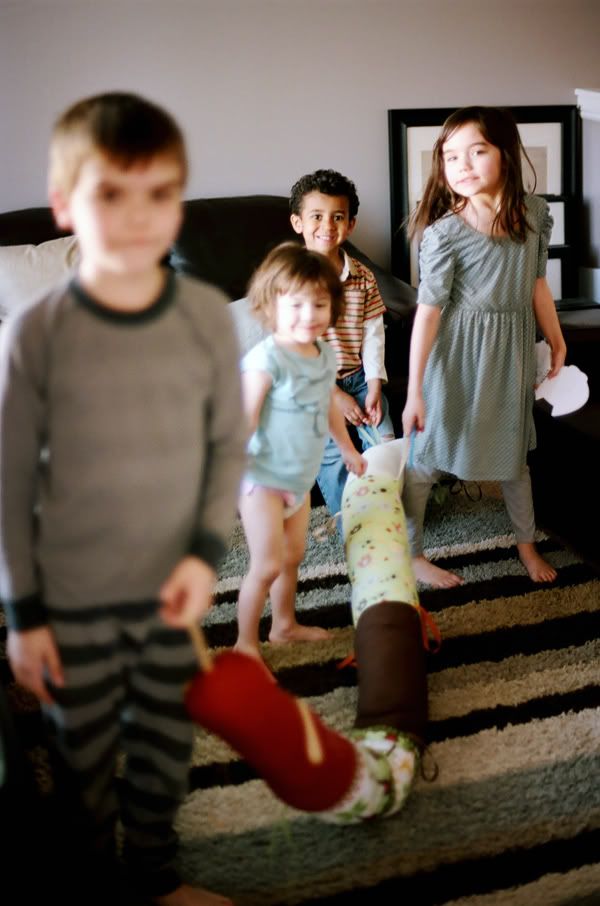
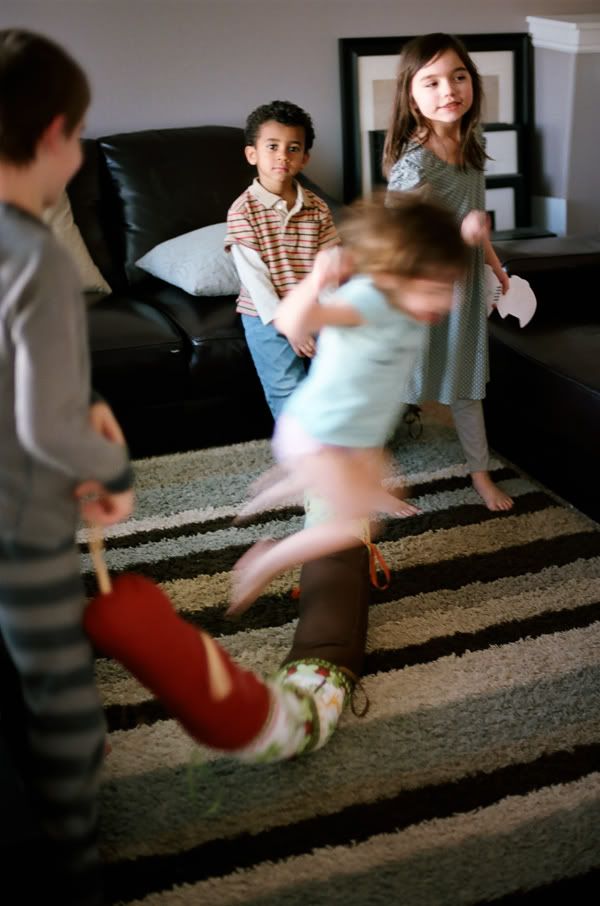
Besides, he makes and excellent jump rope.
Until next time.
xoxo
5 comments:
I had some of those boys in my nursery before the reorganization. they are adorable! I'm sure they'll love your cute snake. its a great idea. :-)
Test. Test.
Genius!!! Seriously I will pay you to make one for me!!!! HUGS!!
Oh my gosh! FABULOUS!
I teach in the nursery and I never would have even thought of this! What an awesome idea! It's so cute!
Post a Comment